From post to vaulted ceiling-a really regal rail.
By Mark Clement
I could write entire articles on the individual phases of this porch renovation. I could dive deep with more than a thousand words on demolition alone or on the cedar ceiling of succulence (it really is luscious—all clear tongue-and-groove). Or I could focus on the bespoke hand-rail I made from Regal Rail’s ornamental metal parts and cedar parts I fabricated on site. However, I’d probably make our friendly editor go crazy, so instead I decided to hit on the high points.
By hitting the high points, I can touch on all the cool aspects and cover some time-saving tips for both pros and DIY’ers.
If you’ve never remodeled a porch before—or never done one quite like this, and it’s a first for me—it’s got some super unique details. I think taking a wide view with photos and captions will give you an idea of what you’re in for, and where you can go on your porch project with a little imagination.
Before
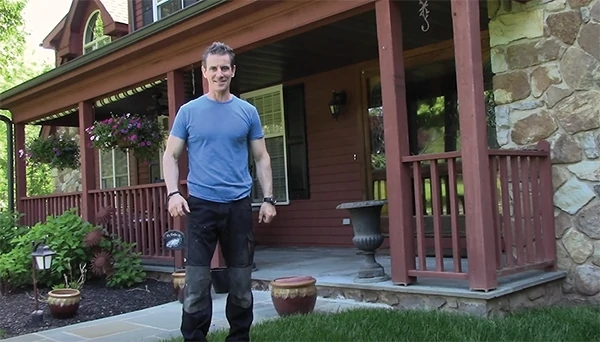
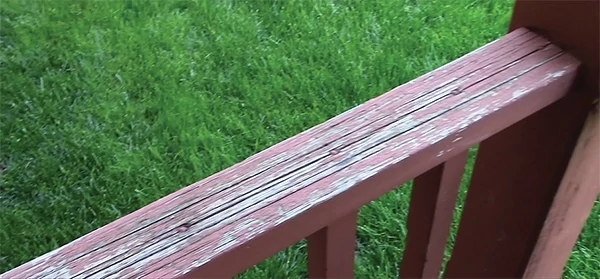
There wasn’t much wrong with the existing porch. It was 30 years old and plain, but it was well built with sound materials (lots of Western Red Cedar) and easily could have been tuned up. But, the customer wanted a specific look, so that’s what we set out to achieve.
Demolition
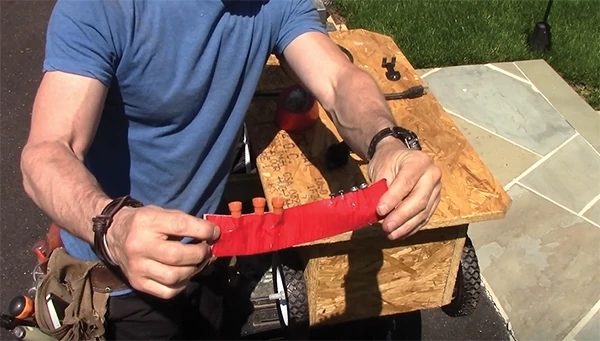
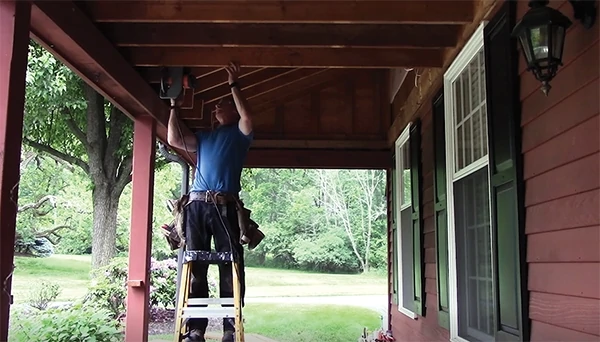
The first thing to go was the ceiling fan. It would be reused. To hedge my bets against the inevitable lost screw, I captured everything in duct tape then taped everything to the body of the ceiling fan.
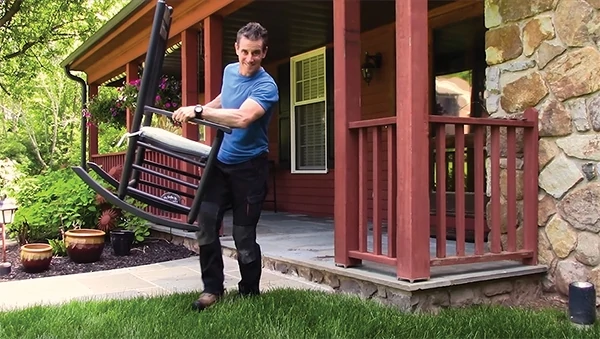
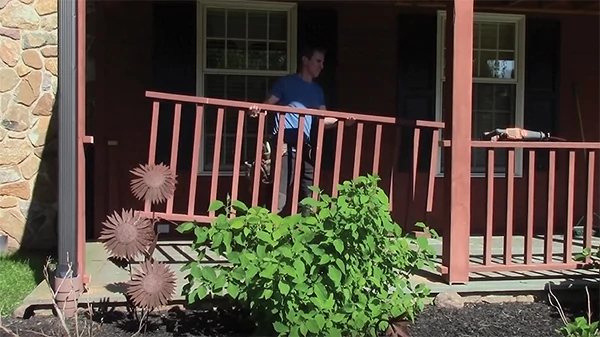
Porches are usually populated, so plan and set aside some time to place items out of the way.
Hoo else is going to move all this stuff if I don’t. Owl tell you: Nobody. (This pun stuff is for the birds.)
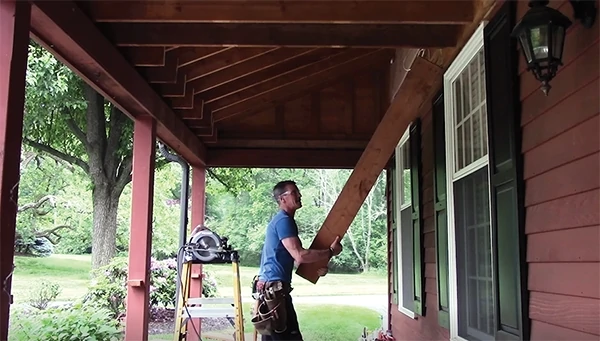
Avoid pounding materials with a hammer during demolition. Cut whenever possible. The reciprocating saw worked great here.
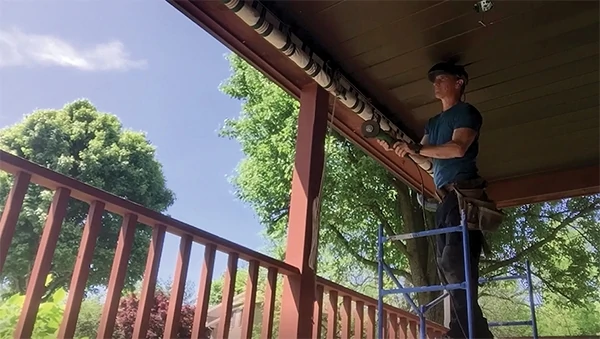
The ceiling was made of aluminum. Held tight to the framing with roofing nails, that thing was not going to leave easily. Rather than rip and pull at it, thereby applying asymmetric forces to something installed with symmetric forces, I kerfed it with a grinder so I could get tools behind it and pull it down in the opposite direction it was installed.
Also, ripping metal apart means you basically turn all the torn edges into blades. Don’t do that. I get shivers down my spine just thinking about a yucky slice wound.
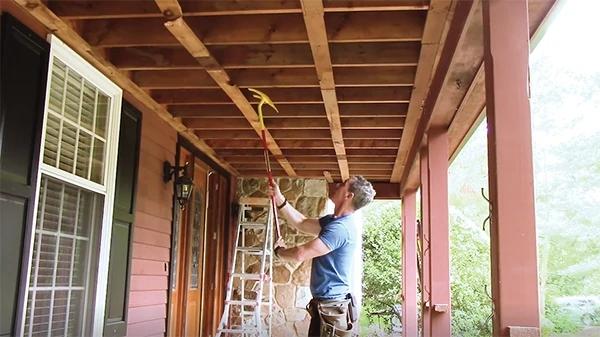
With the ceiling down, I was able to get at the strapping above it. I used the NestorBars demo bar—a contractor-invented thing of beauty. If you’re tearing up a deck or doing almost any demolition at all, it’s a must have. It also works as a great lever for lifting stuff up.
Backstory: After I got the ceiling down, the customer walked out and said, “How do we get rid of those horizontal boards?”
I answered, “By altering the permit,” which I did. The inspector let me delete all of them. More on that later. Here, clean cuts and ample leverage are our friends. I cross-cut the joists with a circular saw. Once free, I carefully pried and twisted them off the ledger.
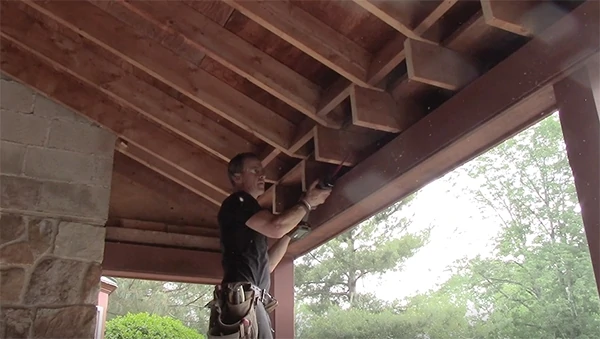
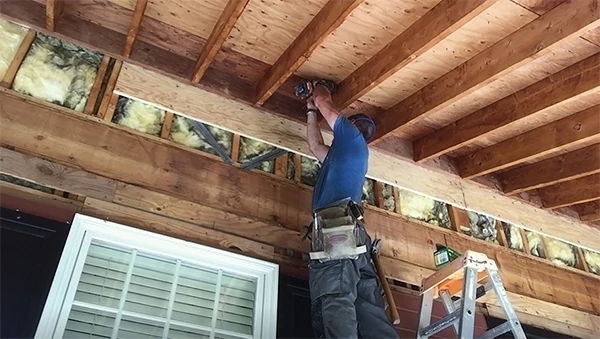
With the joists rough cut, I snapped a line 2 inches out from the beam so I could transition up and into the bottom of the rafters. This is a very specific detail, but the point is that if you vault a ceiling like this, you’re going to get into framing that was never meant to be trimmed (the beam) and framing that was never meant to see the light of day. The key is transitioning between the two carefully. It requires some careful planning, layout, and seeing into the future.
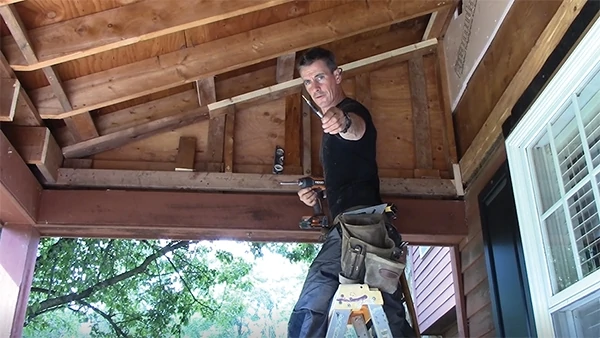
The same thing is happening here: Transitioning from the framing meant to, in this case, no framing at all. So, in order to flatten the gable ends to accept the cedar later, I had to add studs and integrate with the trim elevation.
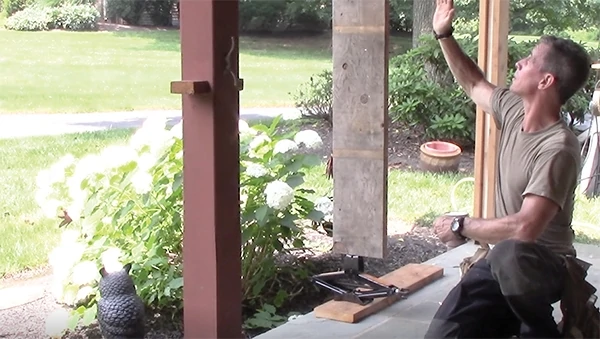
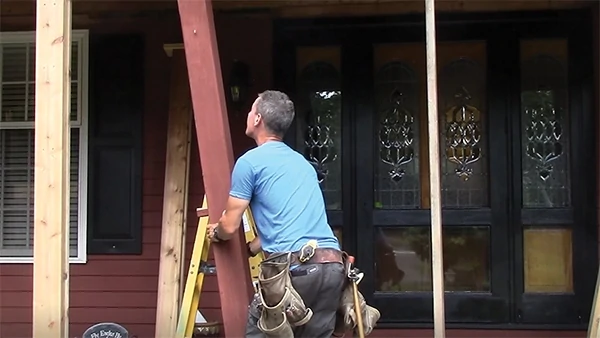
A couple things are happening in this photo. First, look at the jack and the squash plate it sits on. I crank that up just enough to wiggle the existing post out and put the new post in. Not shown to my left (because it is hard to build these and shoot a media package at the same time) is the friction-fit 2×4 safety post, in case something didn’t go right. Finally, note the new post. It’s my patented* 2×6-2×4-2×6 laminated post.
*Okay, it’s not patented. Anybody can do this, but I’m hoping I invented it. I’ll put it on my urn. “Here lies the dust of the guy who invented the built-up post.”
The reason the porch roof has to be lifted when placing the posts is due to geometry. A rectangle is longer on the diagonal than it is end to end. Even if I tried to make all the post cuts super-exact, there would be no way to just tip in a new post in. By the way, this same geometry is the reason you can’t tip up a framed wall in a basement remodel and have it be tall enough. It is also why the run of a hip rafter is 17-inches, not 12-inches like a common rafter.
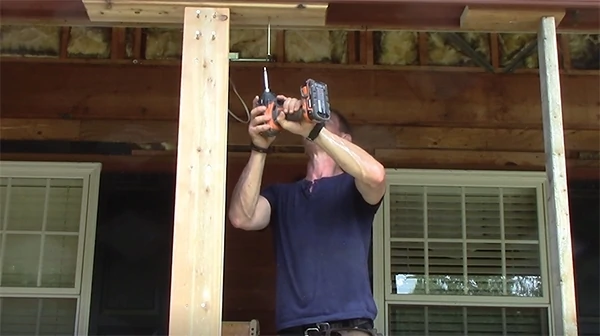
Before installing the post, I use Spax PowerLag structural screws to fasten the plate on top of the post down into it. This is both structural and decorative. I install the post next. Then, right along the centerline of the plate I drive PowerLags up into the girder. These things aren’t going anywhere any time soon.
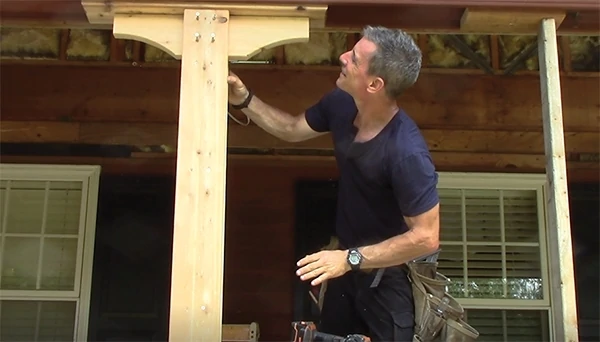
The center ply of the three-piece post is left 5-1/2 inches short so I can slide a decorative corbel into the center ply. This provides the molding detail my customer is looking for, and it gives me a way to hide the large screw heads locking the post to the framing.
To get around having no horizontal members below (the ceiling joists we removed), I fastened the ridge ledger to the studs with more PowerLag structural screws (1/4 x 5-in.) right into framing.
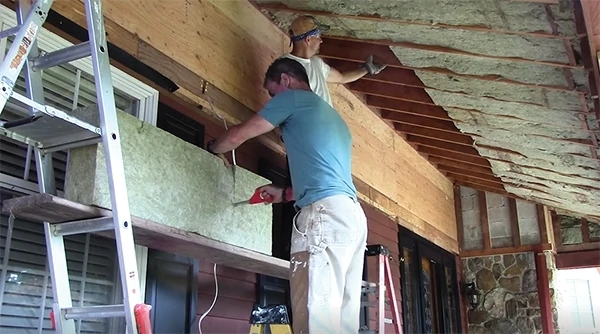
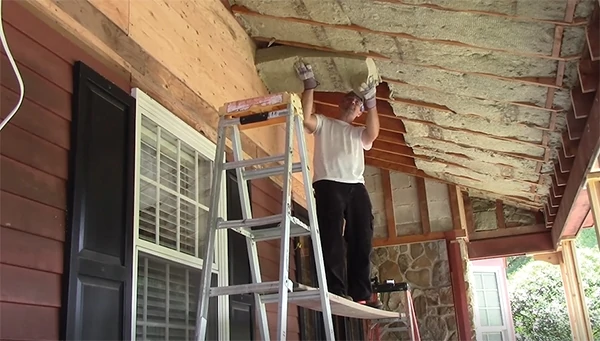
Next, we installed Rockwool—my favorite insulation ever—in the ceiling joists. The idea is that it stops summer heat from radiating through the roof assembly and heating up the space beneath. (Not my idea.) Cutting Rockwool on edge is a fast way to size it, and it cuts easily with a bread knife. Did it work?
You bet it worked. It was a noticeable difference in comfort. Plus, friction-fitting the Rockwool between the rafters is approximately 34,000 times better than smashing paper ears on other insulation with the slap stapler.
I then installed the transition molding around the rafter stubs.
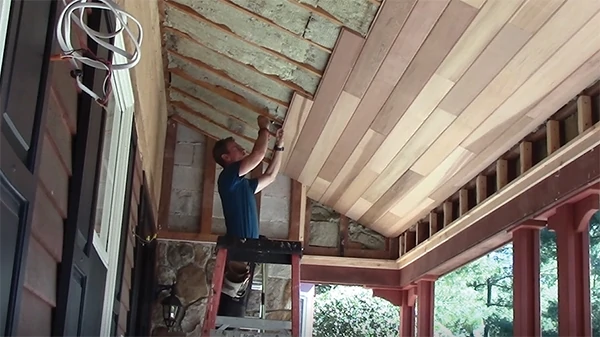
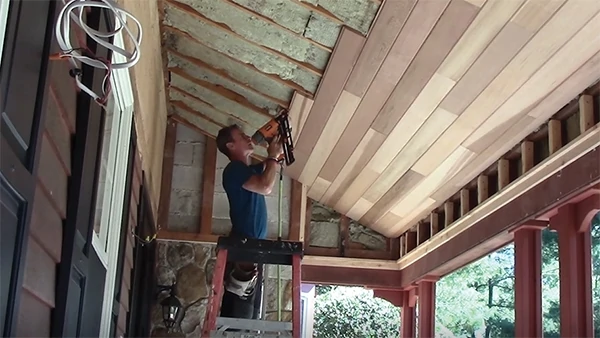
The particular rafter shown here was crowned, so when I nailed the cedar to it, it cupped, and installing the next straight groove onto a curved tongue is nearly impossible. So, using my “use it every day” Hyde multi-tool, I’m prying the cedar back into plane.
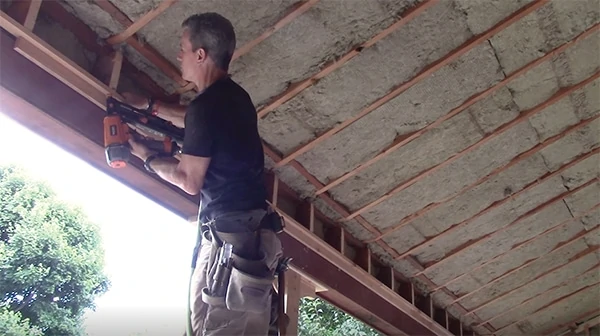
The cedar is installed with the tongue up and toe-nailed with 15-gauge finish nails.
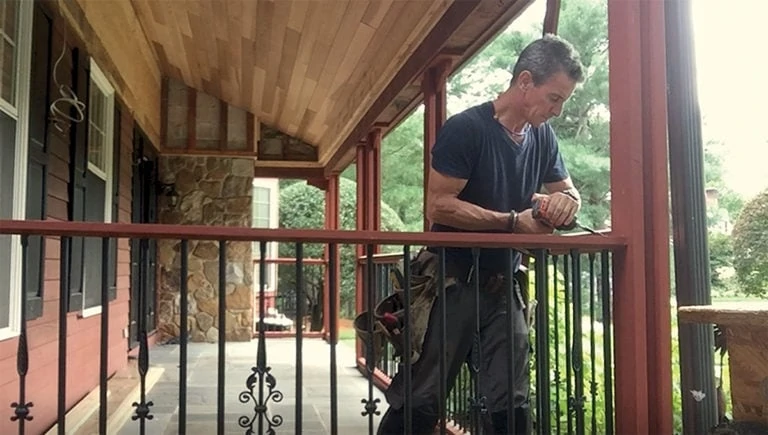
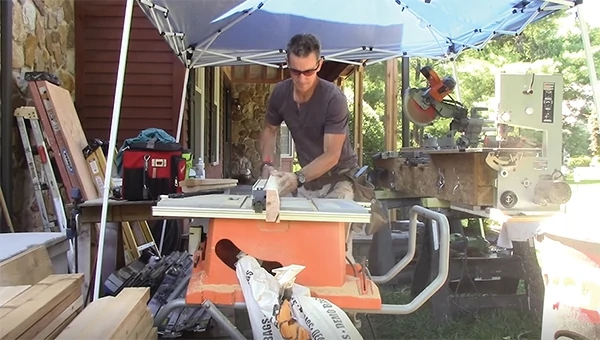
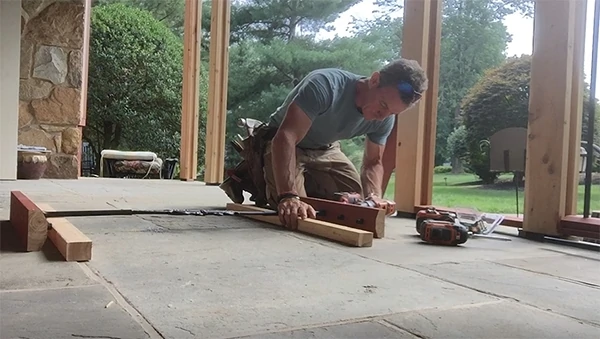
“Bespoke” means it’s made from scratch to your specifications, and the bespoke handrail I made has several components, mainly a 2-piece top and bottom cap assembly (total of 4 pieces). The caps are simply 2×6 boards ripped to fit between the posts and beveled to shed water and deliver a nice look. All of that is done on the table saw.
The Regal Rail pickets come next. Integrating these parts—parts that were never meant to be integrated—was the biggest of the big challenges on this project. The payoff was awesome.
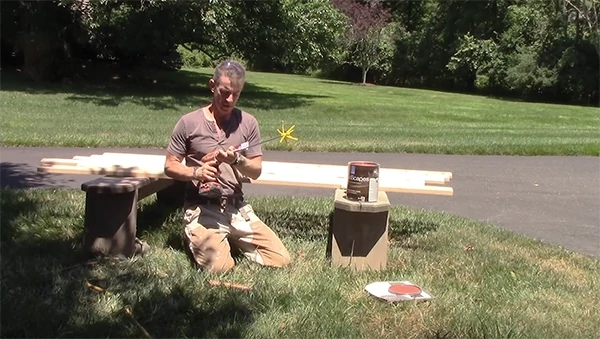
Before assembling the metal and wood parts, I applied a coat of latex stain to the rail caps. Using the Hyde StirWhip is my new favorite way to mix any coating. It’s fast, clean and awesome. (Hyde doesn’t pay me to say that, by the way).
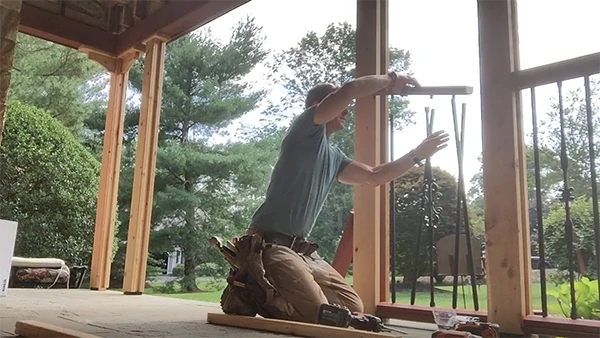
The decorative pickets are solid aluminum. I cut those to length—37-1/2 inches—then pre-drilled pilot holes in my rails on layout. I propped up the Regal Rail so I could install it on the center line of my beveled piece. I then fastened it with a stainless-steel screw. I used stainless because it is softer than hardened steel. It worked.
Round Regal Rail balusters were integrated as well. These have what I call “receiver lugs” and are easy to install. They must, however, be cut exactly 1/8 inch shorter than the other balusters, so everything snugs up tightly. I know, this requires lots of steps, but give me a break. I’m making this up as I go.
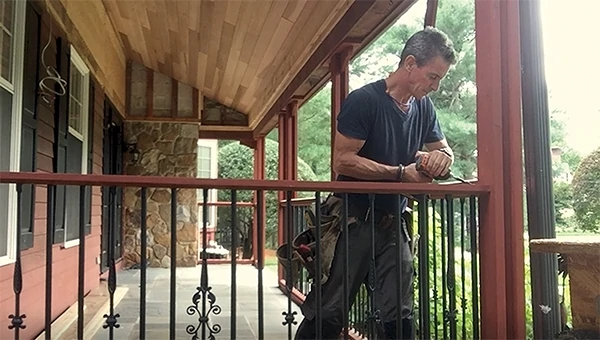
With all the handrail pieces mated up and snugged, toe-screws driven into the post lock it together.
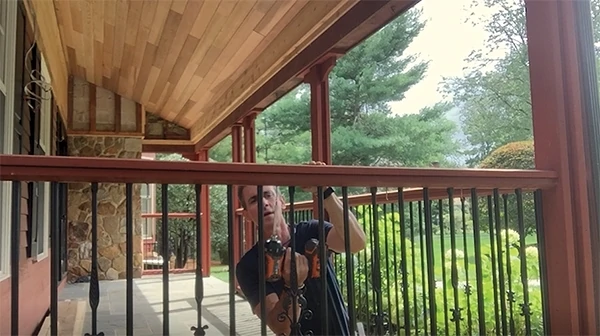
To wrap it all up, I drive screws through the bottom of the rail assembly and into the top cap. There’s not a screw head to be seen.
I’m leaving a lot out, but this is the gist of the project. You can vault and clad the ceiling, which is an awesome design detail. You cannot lose your ceiling fan hardware because
it’s taped to the ceiling fan. You can pre-stain your porch parts. And, insulation is oddly appropriate outside—whodathunk?
Ceilings can soar and rails can be regal. What’s not to like? Front-porching should be a sport.
Editor’s Note: You can watch Mark’s videos on deck building, pergolas, mailboxes, finishing basements and more at YouTube.com/MyFixitUpLife.


