Stair Tread Installation

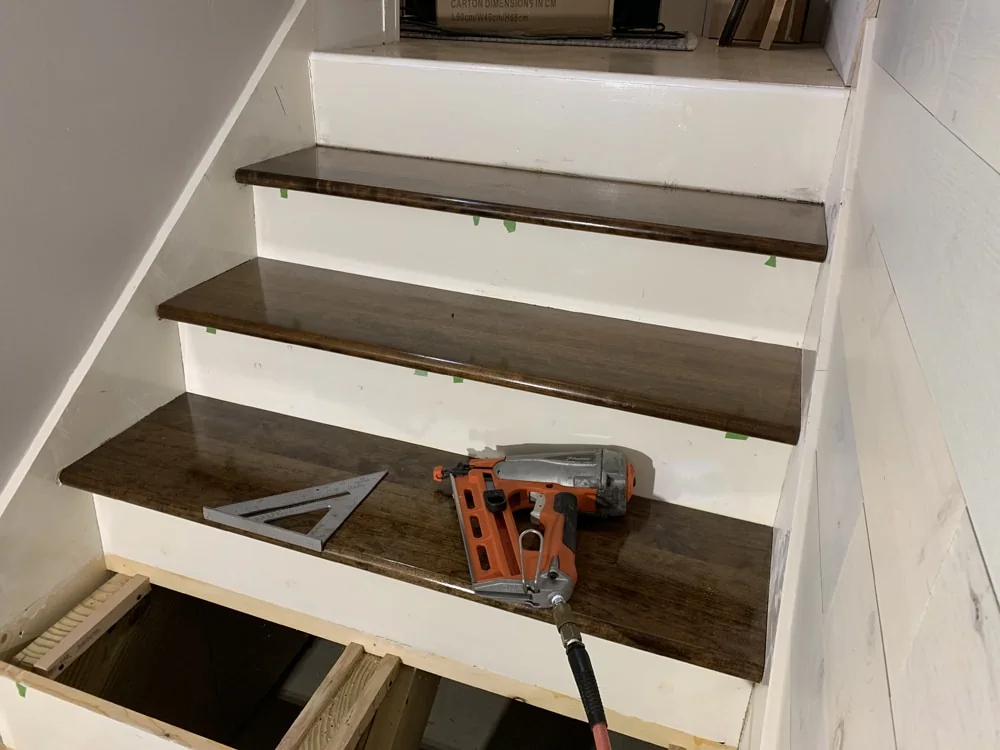
Our last blog post showed how to remove wooden stair treads. This post will show how to install the new treads, which were provided by L.J. Smith Stair Systems.

When I removed the treads, I found the stair stringers had been shimmed level with oak blocks (indicated with red arrow) to provide a level nailing surface for the treads. Generally speaking, the shim blocks all rested slightly higher than the notched surface of the stringers and aligned flush with the tops of the risers. Since the shim blocks would provide the mounting surface for the treads, I double-checked to make sure they were all level and even with one another at each tread location. Lucky for me, they were.


Next, I marked the location of each shim block on the risers using a patch of painter’s tape.


I prepped the stairs for installation by cutting away old caulk and paint, and cleaned off all the dust and debris. The scraper blade on this multi-tool made quick work of the old caulk beads.


I installed the stairs using a liberal bead of construction adhesive at all points of contact between the stair framing and the underside of the treads. This meant I applied glue to the tops of all shims, the risers, the sides of the skirt board, and along the rear edge of the treads.


Before installing, individually measure and cut each stair tread to length with sliding miter saw or a handheld circular saw. To make sure you achieve a near perfect fit, I suggest using an angle finder to make sure the treads should indeed be cut at a straight 90 degrees. If the stair construction is a little out of whack, the stringers might slightly flare or contract toward the top or bottom, in which case it may help to cut the tread at a slight angle to match. Tread length can also vary. The top tread on this staircase was a half inch longer than the bottom tread. Once they were cut, I fastened the treads down with finish nails. The painter’s tape indicated where the shim blocks were located beneath the treads. I simply aligned the edge of a Speed Square with the tape to guide nail placement. Note that I used very few nails–only enough to cinch the treads down onto the glue. This way I wouldn’t have many nail holes to fill and refinish.


Repeat this procedure for each stair tread, and you’ll soon be ready to complete the job with caulk and paint.

Hot Product

Trex® Seal™ Sub-Ledger Tape

Waterproofing the ledger board is a critical step in preventing moisture damage and ensuring the structural integrity of a deck over time. To fully protect this essential component, the makers of Trex® Seal™ Ledger Tape have introduced a new butyl tape engineered specifically for use beneath the ledger board. Measuring 22 inches wide, Trex® Seal™ […]

Read More >>