


By Tom Matthews
A leaky house is a lot like having a leaky wallet. You pay good money to heat the home in the winter and to cool it during summer, so when the conditioned air escapes through leaks in the building envelope, that’s money down the drain. Here are a few tips to help keep the weather outside and your conditioned air in the house.
WEATHER-STRIPPING
Seal leaks between moving parts of the home with various types of weather-stripping.
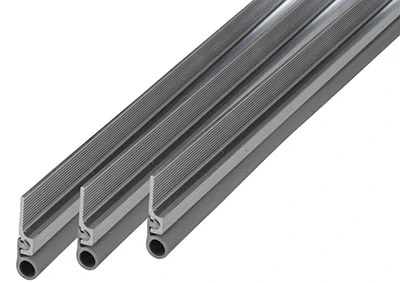
The best weather-stripping for doors is made from aluminum strips that have a rubber bulb which compresses to seal around the door’s edges.
“Moving” parts include doors and windows that open and close, which are susceptible to leaks around the edges. A general rule of thumb: If you can see light between the closed door and the jamb, then you have a problem.
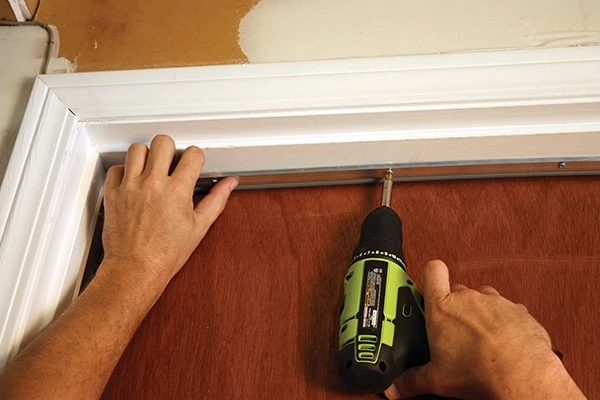
The aluminum strips can be cut to fit and either screwed or adhered to the door jamb.
For doorways, one of the best types of weather-stripping has a rigid aluminum bar along with a soft rubber gasket, called a bulb, which compresses against the closed door to prevent the passage of air and moisture.
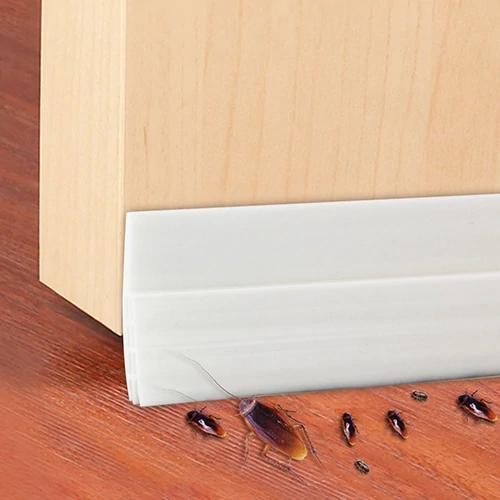
Gaps at beneath a door should be sealed, and an easy method is to attach a sweep to the door’s bottom to protect against drafts and insects.
Also available are adhesive compression strips that include open- and closed-cell foam or rubber tapes, as well as tubular strips. The open-cell tape will give you a quick fix. Closed-cell tapes allow you to correctly size the gap you are working with and are more durable for doors and windows that are used often. Use where there is a pressure stress: along the bottom of vertical sliding windows, around attic hatches or on hinged windows and doors.
CAULK/SEALANTS
Use caulking/sealant between the nonmoving parts of the home from window casing and door jambs to baseboards and siding. You can choose from a wide variety of products, including silicone-, water-, or rubber-based sealants.
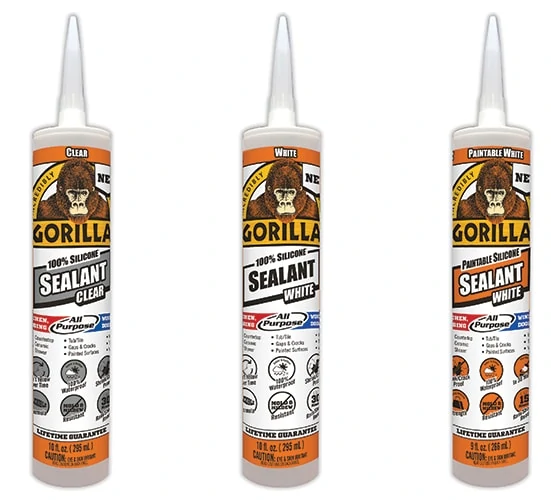
A caulk/sealant product should be used to seal the non-moving joints of the house. For exterior applications, check the sealant’s packaging for indications that the product is “waterproof,” “adhesive,” and “elastic/flexible.” Whereas silicone has long been a popular sealant, keep in mind that standard silicone will not retain paint, so if you plan to paint the caulk bead, make sure your silicone product is specifically advertised as “paintable”.
Check the caulk/sealant product’s packaging for indications that it will work well for exterior or interior use. Look for words like “elastomeric” and “flexible,” which means the bead will bend and stretch in lieu of breaking when the surrounding substrates move with changes in temperature or moisture.
“Adhesive” is another good characteristic for caulks, because if a bead pulls away from the substrate, then the seal has failed.
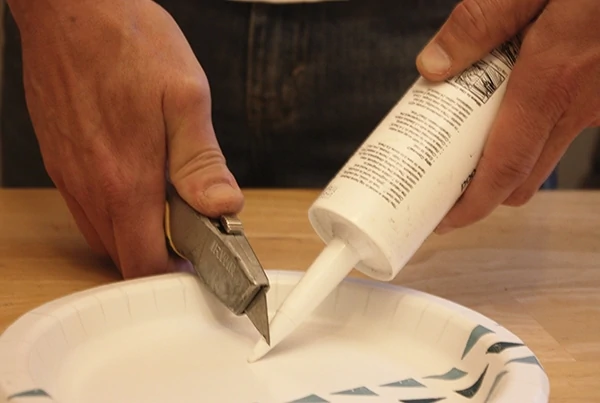
Use a utility knife to cut the caulk nozzle at a 45-degree angle.Some high-quality caulk/sealants will even stick to wet surfaces. “Waterproof” sealant is what you’ll need for exterior applications, and “Mildew-resistant” is a crucial characteristic of visible caulk used around moisture-prone areas such as showers and bathrooms.
If you plan to paint the caulk bead, then look for “paintable” on your product package, because not all sealants will hold paint. Conventional silicone sealant will NOT accept paint. “Paintable” caulks, however, will readily accept a new topcoat in your choice of color.
SEAL LARGE JOINTS
When you need to use caulk to seal a joint larger than 1/4-in. wide, use a foam backer rod as a filler before applying the caulk. Less expensive than caulk, the rods provide a cheaper way to fill the empty space than using caulk alone. Plus, when caulk is applied over a backer rod, it forms an “hourglass” shape with large surface areas of adhesion at the sides of the joint. The hourglass shape of the caulk bead withstands joint movement better than any other configuration.
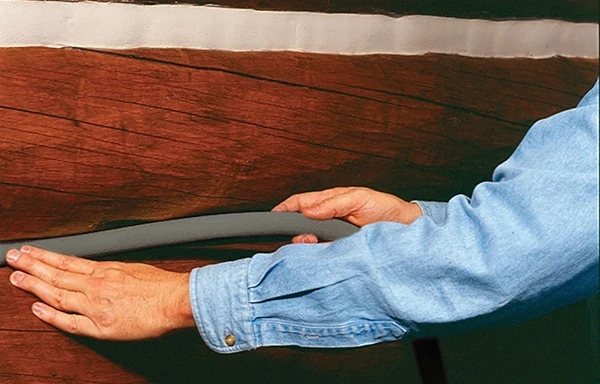
For very large gaps, use a foam backer rod beneath the caulk bead to conserve your caulk. Sashco manufactures foam backer rods in a variety of sizes for this application.
Furthermore, because there is no caulk adhesion at the rear of the joint, the joint is less susceptible to stresses that cause early failure.
FILLING LARGE HIDDEN GAPS
Spray-in expandable foam is another popular sealant for use in non-visible areas of the home, such as the exposed framing around doors, windows, pipes and other wall penetrations. The foam expands so it not only seals but also fills large gaps and insulates spaces with a thermal break. These products are sold at home centers in aerosol cans under brand names like Touch ‘n Foam or Great Stuff.
It’s important to select the right insulating foam for the job; too much expansion in the wrong place can put unwanted stress on the construction. Use the “no warp” formula of expandable foam around windows and door, so the frames don’t bow from the pressure of the expanding foam.
PREP THE SURFACE
Whether you’re using liquid caulk or adhesive weather-stripping, always clean the surface of the work area thoroughly before applying the product. This commonly overlooked step will ensure the best adhesion, prevent grit and debris from disrupting the application, and in the case of caulk, it will keep unsightly dirt and dust from becoming embedded in your fresh bead. Scrub the surface with mineral spirits and an abrasive pad to get rid of any old sealant residue prior to replacing it.
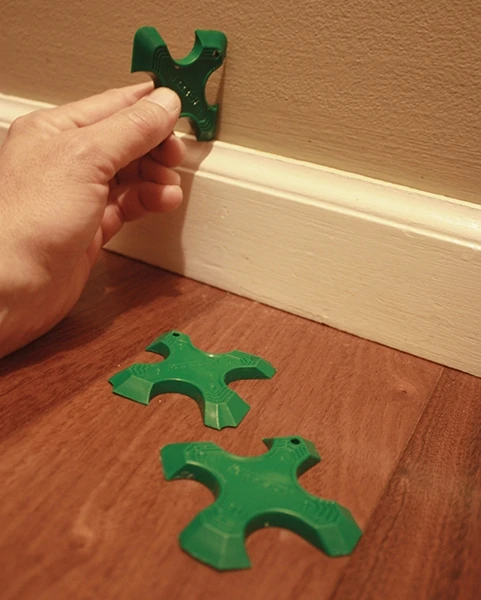
For any visible or decorative caulk applications, you can shape the bead to a variety of sizes and profiles using plastic or rubber caulk-shaping tools that screed off excess sealant.
DRAW YOUR GUN
When using a caulk gun, cut the cartridge nozzle at a 45-degree angle with an opening size of 3/8 inch. Lay the bead parallel to the 45-degree nozzle. Use the razor of a utility knife to cut the nozzle, because the clamping action of a caulk-gun cutter can distort the nozzle opening, which can then impede application of the product. Hold the caulk gun at a 90-degree angle to the wall as you move the gun to lay the caulk bead. The right-angle position strikes a balance between pushing and pulling the bead for consistent application and easy visibility on both sides of the nozzle.
SHAPE THE BEAD
Caulking can be a messy job, and there’s no shame in masking off a caulk bead with painter’s tape. If you’re not an ace with the caulk gun, it’s an easy way to eliminate mess and spare yourself a lot of cleanup. Tool the edges of the bead level with the tape and remove the tape before the caulk dries.
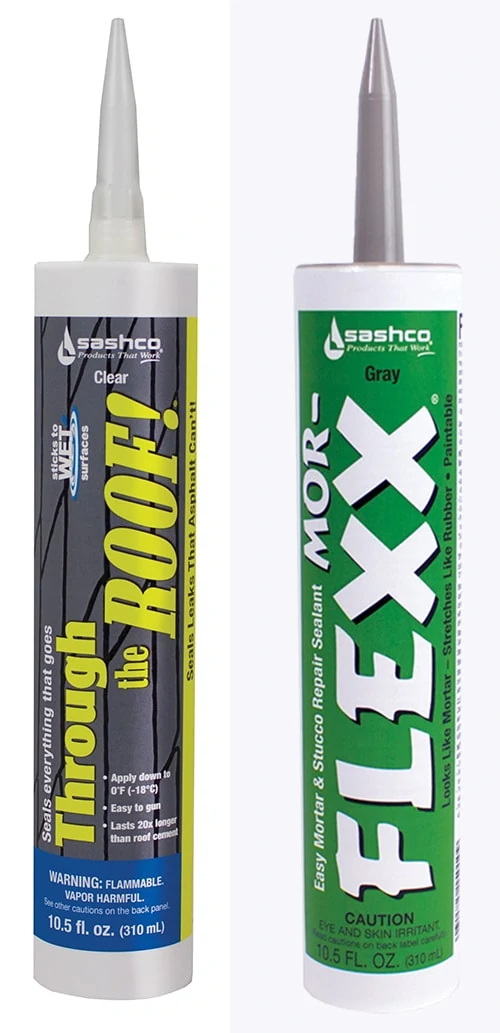
Some sealants are formulated for specific jobs. You’ll find specialty caulks such as Through the Roof! and Mor-Flexx for roofing-sealing and mortar-repair applications respectively.
A simple tool for shaping caulk is a short wooden dowel (or a variety of dowels of different sizes to create beads of varying sizes). Wet the wood and draw the round end of the dowel over the caulk bead to scrape away excess product and press the bead into a concave shape. Another option is a rubberized shaping tool, which has a large enough working surface to clean away most of the excess caulk while offering a variety of bead shapes and sizes. Shaping tools are easy to use and wipe clean when done.
Keep some spare plastic or paper bags on hand to catch, collect and dispose of the excess caulk that accumulates from shaping the bead.
Side Note One
AN ELASTIC SEALANT CAN ABSORB VIBRATION
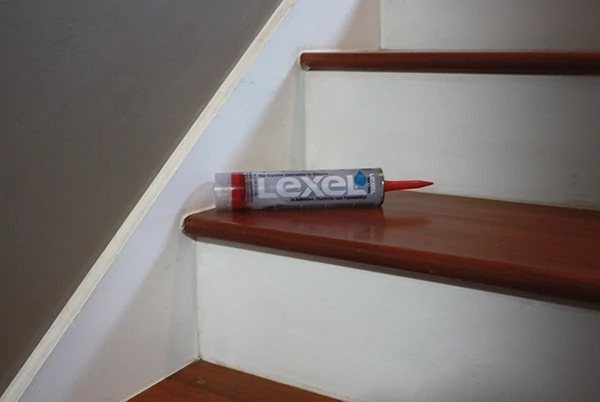
You probably won’t find this information in the marketing materials for a caulk/sealant, but a product that maintains elasticity over time to absorb movement in the surrounding materials can have the side benefit of muffling the sounds associated with that movement. Take this staircase, for example. Some slight movement in the treads had caused popping and creaking as people walked up and down them. We sealed the joints surrounding the treads with an elastic Lexel sealant, which absorbed the movement, and as a result the pops and creaks disappeared.
Side Note Two
RED DEVIL CAULK/SEALANTS
Meet your DIY needs. When Pros and DIY’ers need a project done right the first time, they trust our StormGuard-920 and Lifetime Ultra 230 premium sealants.
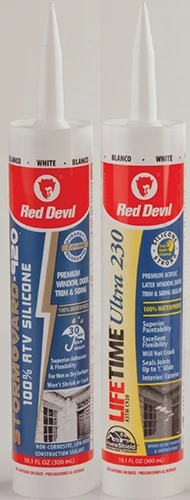
StormGuard-920 100% RTV Silicone Sealant is the go-to sealant for exterior projects that need to withstand Mother Nature. This high-quality silicone meets the highest FDA requirements, while also shortening the standard dry time to form a watertight seal in 30 minutes. StormGuard-920 also has super adhesion, flexibility that exceeds the highest test expansion, is low odor and comes in 7 colors. Use this non-corrosive sealant that won’t crack or shrink on metal, painted and unpainted wood, glass, plaster/drywall, brick, vinyl and plastic.
Another choice for your indoor/outdoor projects is Lifetime Ultra 230. Packed with features. Lifetime Ultra 230 Premium Elastomeric Acrylic Latex Sealant is formulated with a lifetime durability guarantee on a variety of substrates, indoors or outdoors. Lifetime Ultra 230 is permanently flexible and has HomeShield Antimicrobial Protection to defend your project against the worst types of mold and mildew. Lifetime Ultra 230 is also VOC-compliant, non-corrosive and can be cleaned up with water. You have the option of painting this caulk a custom color or saving time by using one of its 6 shades. Learn more at www.reddevil.com.
Side Note 3
T-REX® TAPE
T-Rex brand products are designed for projects and challenges that require intense strength, durability and holding power, no matter the application. Whether it’s simple, around-the-house fixes, tough projects on your seasonal to-do list, on the jobsite, or moments in the great outdoors, there’s no project too big or too small for these ferociously strong products.
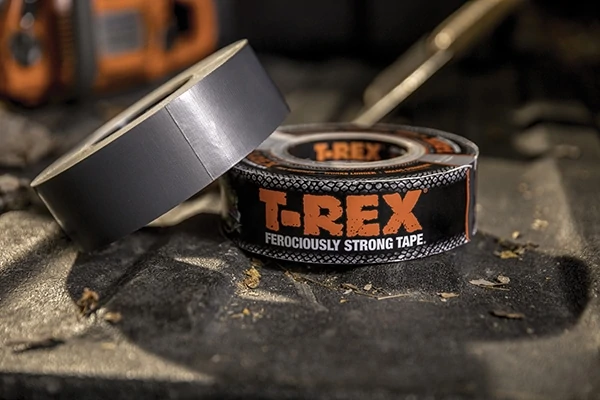
Armed with double-thick adhesive, waterproof backing and the ability to stick to rough, dirty surfaces, you can conquer the nastiest, most ferocious projects with T-Rex Tape. To learn more about T-Rex Tape and other T-Rex brand products, visit T-RexTape.com.
