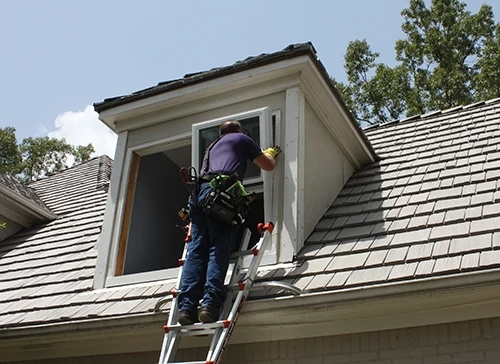
Brighten your home, enhance your décor, and conserve energy with new replacement windows. Extreme How-To offers 40 tried-and-true tips for surefire success when taking on this popular home-improvement project.
Selecting New Windows
1. For a low-maintenance window, select a vinyl window frame instead of wood. If you love the look of wood windows, consider a window with woodgrain laminate over vinyl.
2. Think about the type of cabinet hardware, lighting fixtures and other features of your home. Look for windows that have locks that can match those features, such as brushed nickel, brass or oil-rubbed bronze.
3. Consider choosing tilt-in windows for easy cleaning of the glass from the inside of the home.
4. Seek out manufacturers with warranties that cover the frame, sash and insulating glass units of the window.
5. Educate yourself on energy efficiency features of windows. Look for windows with Low E glass and fusion-welded vinyl corners. Gas-filled, double-paned windows will help cut down on heating and cooling costs. Select windows meeting Energy Star guidelines for your area.
6. Consider glass options. Not all glass is the same. Just as you have choices on Low E or gas-filled glass packages to maximize energy efficiency in your home, you have choices on the type of glass. Selections include clear glass, tempered, tinted (generally available in bronze or grey) or obscure glass.
7. Consider your surroundings. If you live in an area prone to severe storms, on a golf course or even in a noisy downtown area, then impact-resistant glass is a smart investment because it is extremely difficult to penetrate. Check with your insurance company to see if it offers discounts if you install impact-resistant windows in your home.
8. If you live around active children, consider ordering windows with laminated safety glass—at least for the first floor of the home. Two panes of glass are adhered to a durable plastic interlayer. If a stray baseball hits a window, the glass will shatter, but broken pieces remain adhered to the interlayer, preventing glass fallout inside the home. The plastic interlayer is also puncture-resistant, frustrating potential intruders.
9. If you currently hear too much outside noise—overhead planes, traffic, railroads—request laminated or impact-resistant glass in your replacement windows to reduce noise penetration into your home.
10. Review grid options. Many builders suggest standard white Colonial grid patterns. However, window manufacturers offer everything from brass to dark zinc as grid options.
11. Not every window requires a grid. For a window overlooking the lake or a mountain view, forgo the grid to preserve the view.
12. According to a checklist of home safety aspects available from the American Association of Retired Persons (AARP), ease of operation is tops on their list for window considerations for seniors. As you get older, you can’t “push and pull” on a Double Hung window the way you could in your 30’s. For older members of the household, consider easy-to-operate Slider or Casement windows.
13. If hiring a window installer, make sure to request paperwork that assures you that the entire installation team is bonded and insured.
14. Some manufacturers require you to fill out and submit warranty forms. Make sure to do that promptly and keep your window warranty information in a secure location.
Window Installation
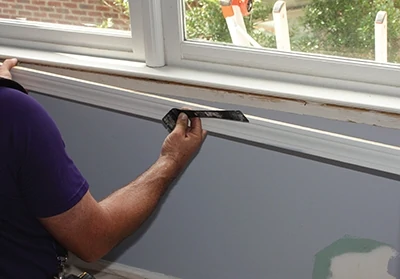
15. Most manufacturers offer standard size windows to closely match existing units. Once you have the new windows on site, double-check the measurements for fit before removing the existing units.
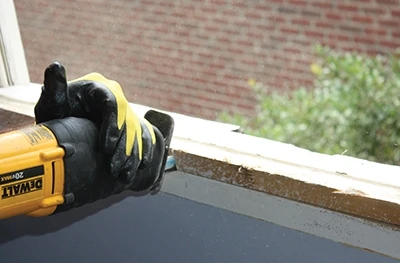
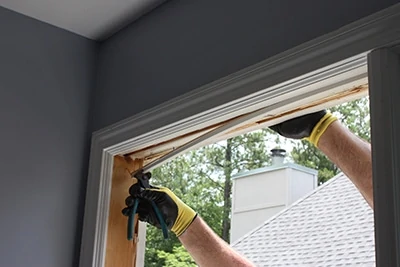
16. Most windows are “clamped” in place with stop molding on each side of the wall. Use hammers, putty knives and pry bars to dislodge the old stop molding. Exterior stops can be removed to install the window from the outside. For indoor installations, remove the interior stops. With the stops gone, carefully push the old windows out of the frame.
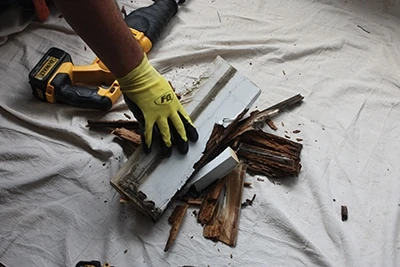
17. Remove and replace any rotted wood in the window’s sill plate or framing prior to installation.
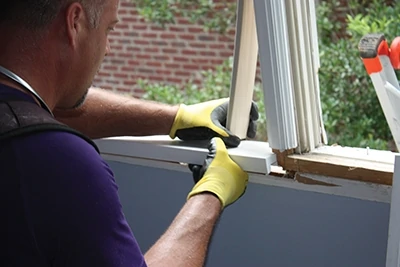
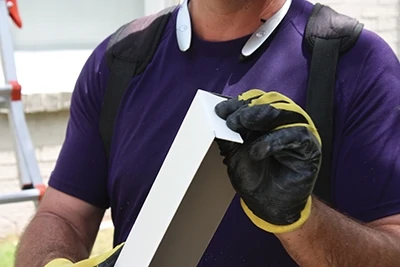
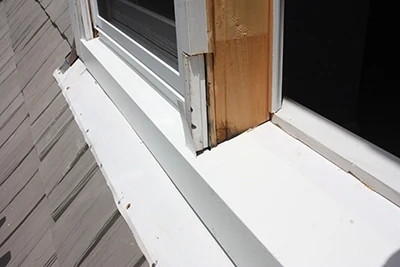
18. Refer to the window manufacturer’s instructions for specifics on assembly, which may include accessory pieces, such as vinyl sill extenders to help fit the window into the opening.
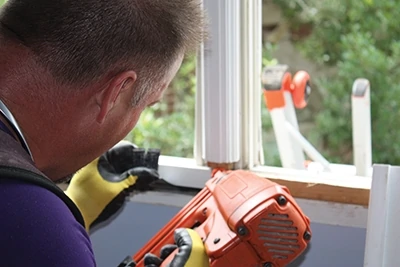
19. If installing the window on a sloped sill, use wood blocks along the sill to help level and support the unit from below.
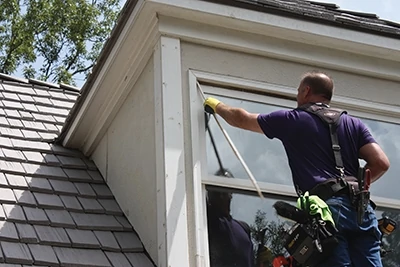
20. Make sure the replacement window fits into the opening level, plumb and square, otherwise it won’t open/close properly. Check both sides for plumb.
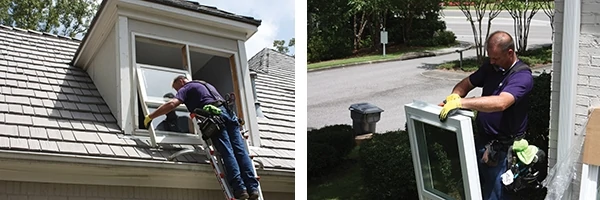
21. Adjustments can be made with shims, which should be installed at all anchor points and anywhere necessary to keep the unit correctly in place.
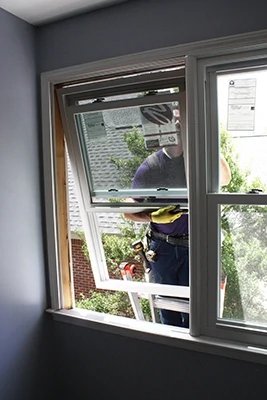
22. To check for square, measure both window diagonals from corner to corner to make sure they match.
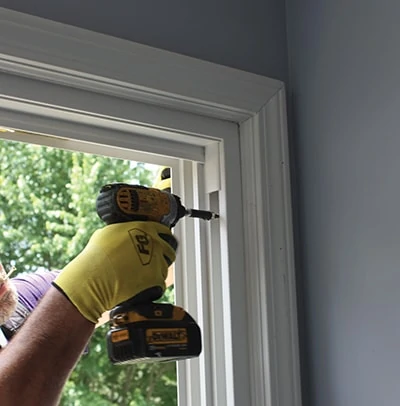
23. Insert all installation screws that were included with the new window.
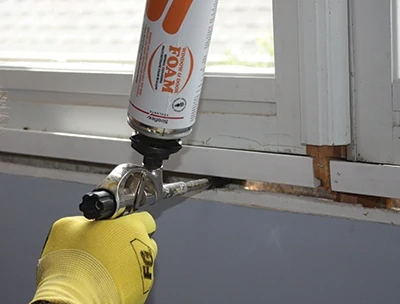
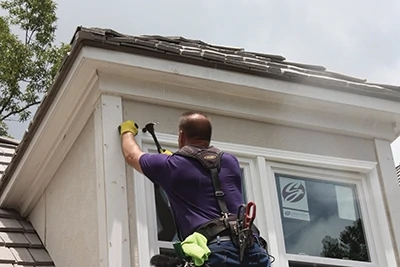
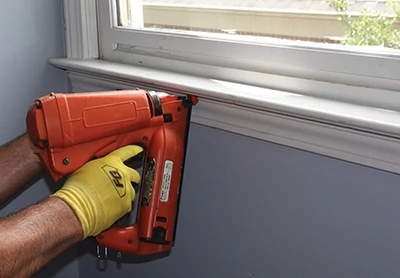
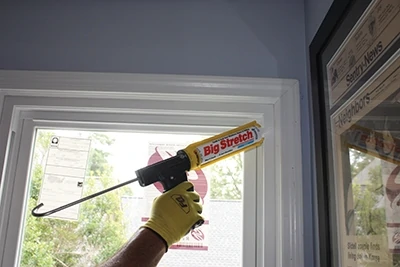
24. Seal all joints on the interior and exterior with caulk/sealant.
25. Insulate gaps between the window and frame that exceed 1/8 inch. If using spray foam, select a low-foaming product designated for “windows and doors” that won’t flex the window material, which could prevent proper operation.
Living with your New Units
26. Practice operating the windows with older children and show them how to attach and use chain ladders.
27. Keep furniture, cribs, or anything children can climb, away from windows.
28. Before ordering windows, make sure to examine the unit’s locking system and operations. Multi-point locks help provide more protection against intruders and make it more difficult for curious young children to operate.
29. If you need to use window guards on the interior of your windows, make sure they are operable and can easily be removed. Practice detaching the guards with children in case they need to exit through a window in an emergency.
30. Lock your windows. Don’t just close them, but lock them, which creates an airtight seal that keeps out air leaks and drafts.
Clean & Store Window Screens
31. To clean window screens, carefully remove the screens from the frame and follow the manufacturer’s instructions.
32. Place screens on a flat surface (such as the driveway) and use mild soap and water with a soft bristle brush to remove dirt and grime. Clean both sides of the screen and around the interior and exterior of the frame. Rinse off the unit with lukewarm water.
33. Allow the screen to dry completely before placing it back into the window or storing it.
34. Never pressure-wash screens or windows because the force of the water can damage the units.
35. Use extreme care when cleaning screen mesh, since it can be dented or creased if too much pressure is placed on the screen.
36. While most window screens may remain in the windows year-round, some homeowners prefer to store screens during winter months. If you choose to remove your window screens, make certain to store them either in an upright or flat position.
37. Covering window screens with plastic or a sheet will keep them clean while in storage.
38. Make sure nothing sits on top of (or leans against) window screens to eliminate the chance of bending of the frames or poking a hole in the screens.
39. If a small hole or tear does occur in your screen, patch kits are available in most hardware and home store.
40. Homeowners unhappy with the look of a patch (or who have a large gash in their screen) may choose to get the screen mesh replaced on the entire unit. Many cities have screen repair services where you can take your screen frame and have new mesh added to replace torn mesh.
Editor’s Note: Professional window installation courtesy Damon Gassaway. Special thanks to Simonton Windows for contributing to this article. Visit Simonton at www.simonton.com.


