

What do anthills and porch columns have in common? The answer should be nothing, but we know better…
By Rob Robillard
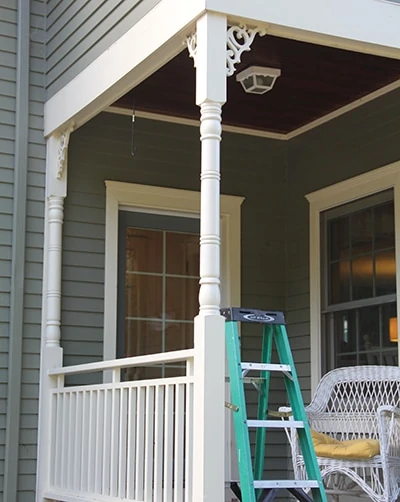
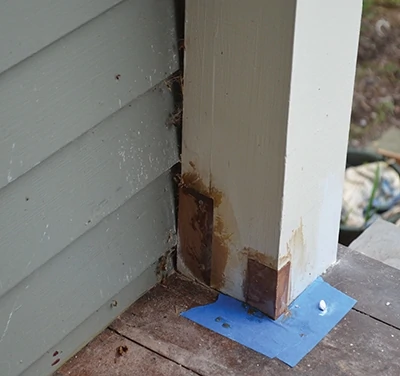
Columns add charm, personality and beauty to walkways, decks, landings and porches. Many of the homes where I live have beautifully turned wood columns as structural posts for porches. Unfortunately, because the posts are situated along the exterior perimeter of the porch, the wood is exposed to wind-driven rain and roof runoff or splash-up, resulting in rot at the base. Porch column rot is pretty common along the base and eventually becomes a home for carpenter ants.
As a renovation contractor I see carpenter ants in just about every home I work on, mostly around damp wood as a result of water intrusion or lack of proper maintenance. When you consider that there are 1.5 million ants on the planet for every person, it’s easy to understand why I see so many ants.
If you have a rotted structural porch post, you can either replace the column or repair it; on this project, we chose the latter.
Support All Structural Repairs
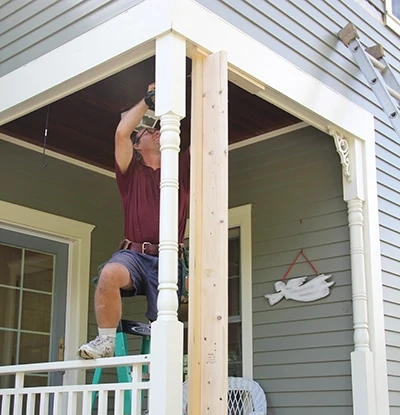
When a column supports a roof or structure it is considered structural. Prior to replacement or major repair you should take steps to temporary provide structural support to the area around the post needing repairs or replacement.
Although some minor repairs for porch column rot can be done in place, when the rot is extensive enough, the best way to perform these repairs is on a workbench.
I often use 2×6 lumber as temporary porch post supports.
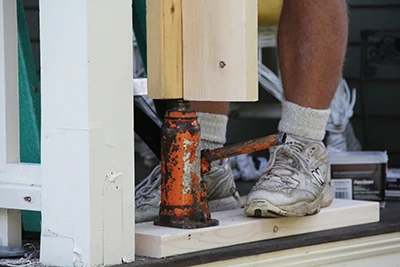
I make a “T-shaped” jacking or shoring post. The “T”, formed from two board, keeps the support surface rigid, preventing each board from bending on their flats. I install 3-in. nails every 12 inches to secure the two boards together.
I use a small 10-ton hydraulic jack to raise the shoring post and overhead structure approximately 1/8 inch. This assists in getting a reciprocating blade to cut the fasteners away and remove the post. It also assists later when inserting the replacement or repaired post.
Once the structure is jacked up, I install a second temporary support post to take the stress off the jack, and to provide additional support at the new height. This second support post can be
T-shaped or simply two 2×6’s doubled together and fastened every 16 inches with two 3-in. 12d nails.
Repairing Rot vs. Replacement
Many times it’s simply easier and less expensive to replace the porch post as opposed to repair it. In our situation we have three identical posts, and the replacement posts at the store looked vastly different—not close enough to pass muster. The decision to repair this post became a better option.
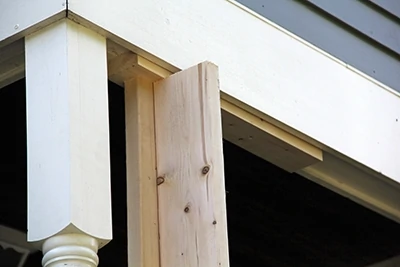
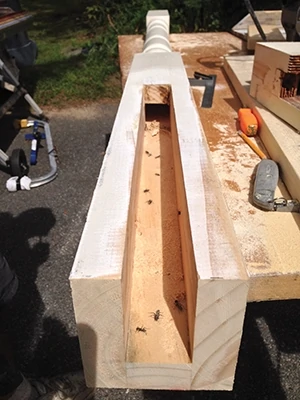
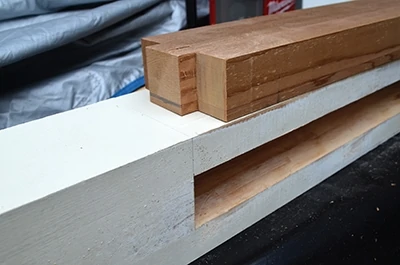
We assessed the post and determined that if we cut higher than the rot, in the middle, we would create a “stepped-key” effect, essentially making our post repair a stronger connection and also avoiding the creation of a weakened “hinge” point at the repair.
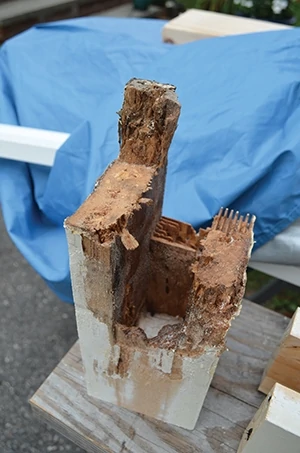
Out with the Old
Using a reciprocating saw and multi-tool we cut out all of the nails fastened through the post at the top, bottom and railing connections. The next step was to remove the porch column rot, and that is when the ants came scurrying out!
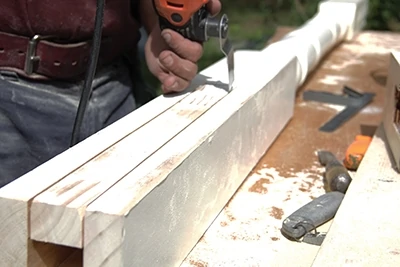
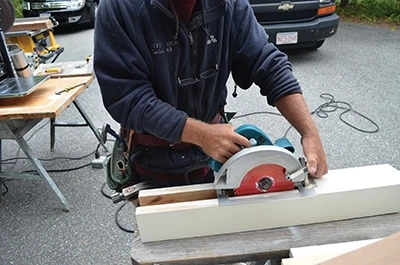
We used a circular saw to make all the long cuts and finished all cross-cuts with a multi-tool. We made these cuts on a workbench, because the better working conditions usually result in better looking cuts and results.
Replacement Material
I like to use mahogany or cedar for my rot replacement material; you see cedar in these pictures.

We rough-sized our stock on the table saw, leaving it long, and glued it together with epoxy and clamps. We allowed it to dry overnight and the next morning we used a thickness planer to thin down the glue-up and achieve a snug fit in our post cut-out. We then dry-fitted the repair and then glued and clamped the repair piece into the post.
Two-Part Epoxy
In situations like this we like to use a product called West System epoxy to bond the repair materials. This epoxy is a versatile two-part, marine-grade epoxy that bonds and coats fiberglass, wood, metal, fabrics and other composite materials to provide superior strength and moisture resistance.
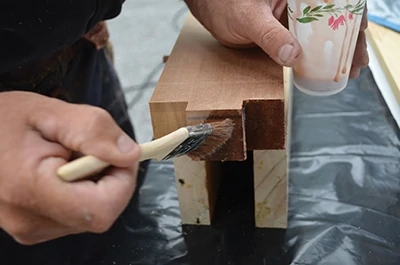
Two-step bonding, or structural adhesion, is the preferred method for most situations because it promotes maximum epoxy penetration into the bonding surface and prevents resin-starved joints. We work the epoxy into the wood surfaces with a throwaway bristle brush.
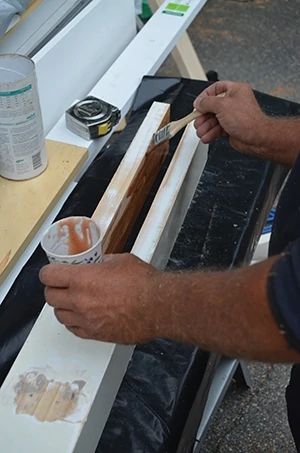
Note: Before mixing epoxy, check all parts to be bonded for proper fit and surface preparation. Also, gather all the clamps and tools necessary for the operation. Apply a neat resin/hardener mixture to the surfaces to be joined, following the manufacturer’s instructions. Use a disposable brush, foam roller or a putty knife to spread the hardener mixture evenly over the surface. Apply enough of the mixture so that a small amount will squeeze out when the surfaces are joined together with a force equivalent to a firm hand grip.
Clamp the components. Attach clamps as necessary to hold the components in place. Use just enough clamping pressure to squeeze a small amount of the epoxy mixture from the joint. Avoid using too much clamping pressure, which can squeeze all of the epoxy mixture out of the joint.

Clamping
Once epoxy was applied, we used bar clamps to secure the joint. Remove or shape excess adhesive that squeezes out of the post cut-out as soon as the joint is clamped, and allow the repair to sit overnight.
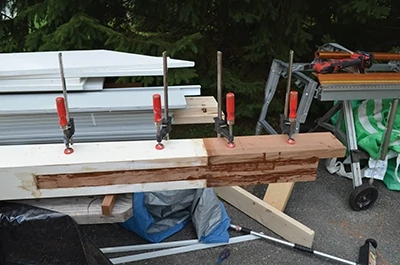
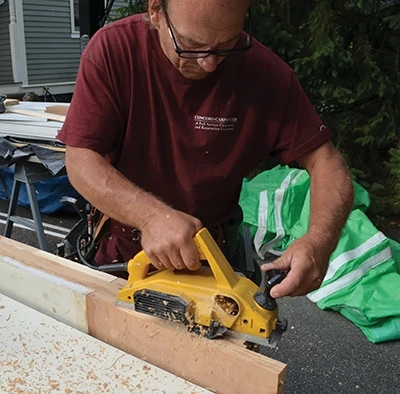
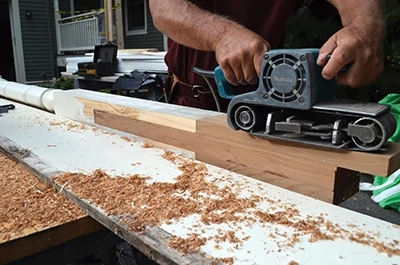
The next morning we used a power planer and a belt sander to take down the high spots on the glue-up. Once the repair and post were at the same plane and smooth, we cut the post to size. The repair and post were then finish-sanded with an orbital sander and 120-grit, and all edges were primed, as well as the end grain.
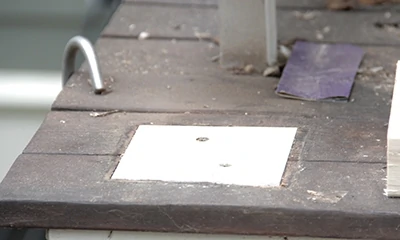
Back at the porch we traced the post base out on the mahogany decking and used a multi tool to cut out the decking. We then filled this cut-out area with a PVC shim patch. This prevents the new structural post from sitting directly on top of the decking, which would cause problems later if the deck boards need to be replaced. The PVC is planed to sit just below the deck surface and hides the post seam for a nice, finished look.
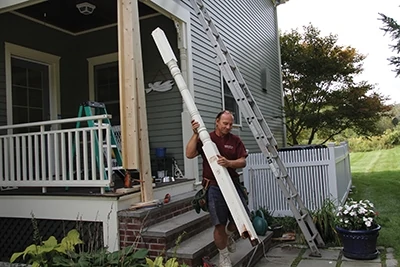
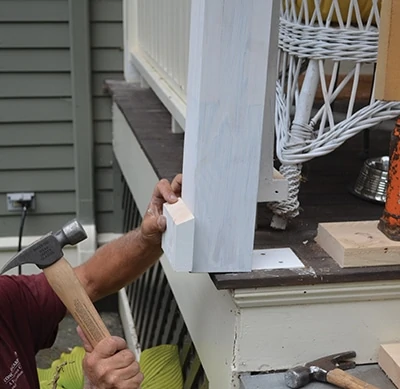
Installation of Repaired Post
The post is then repositioned back in place and plumbed. We countersunk screws into the base and top of post. These screw locations can be filled with wood plugs, epoxy filler or wood-filler (Bondo).
With the post fastened to the header, deck and railing, we then removed the temporary support post and slowly lowered the hydraulic jack.
Two coats of quality paint finish the repair.
Editor’s Note: Robert Robillard is a remodeling contractor based in Concord, MA. He is also the editor of a www.AConcordCarpenter.com.
Side Note
 In-Place Post Repair
Minor rot repairs can be made with the post in place, such as this “Dutchman Patch” in which the damaged wood is notched out of the post with a multi-tool, and replacement pieces are epoxied into the repair.
