

I’ve never met anyone who enjoys removing wallpaper. It’s one of those necessary evils of remodeling that must be done if you plan on giving your walls a pro-quality paint finish. Painting over wallpaper can’t conceal seams or prevent the paper from peeling in corners. Plus, paint can cause the paper to wrinkle or bubble. For the best results you should remove the wallpaper before painting.
Give it a Rip
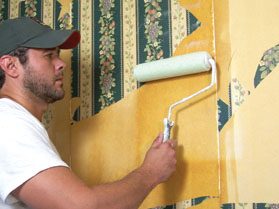
Sometimes the pattern of the wallpaper is so ugly and out of style, you decide to paint just so you can get rid of the old paper. That was the case with the house shown, where the striped green and yellow floral pattern was giving me a headache.
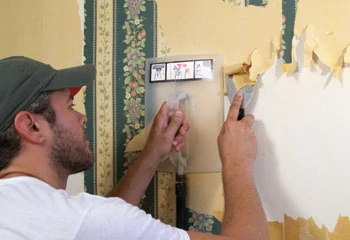
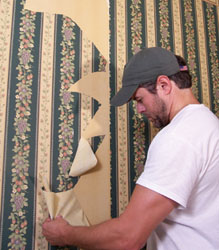
To remove wallpaper, first look for any loose corners or seams. If you don’t find one, make one. Give the loose tab a slow, controlled yank. With any luck, the installer used a quality wallpaper primer before applying the paper, which makes removal much easier. You may be able to peel away large sections of paper by hand with little effort. Move along the wall, pulling off all the paper you can, because the following methods require more time and work. Use a drop cloth to catch the debris.
From my experience, the paper never completely comes off the wall when pulling by hand. The adhesive on the back of the wallpaper can be stubbornly fused to the paper face of the drywall. To remove the paper without damaging the wall surface, you need to weaken the chemical bond of the glue. There are two ways to do this: Use a liquid wallpaper stripper, or use a steam-powered stripper.
Score the wallpaper with a perforation tool.
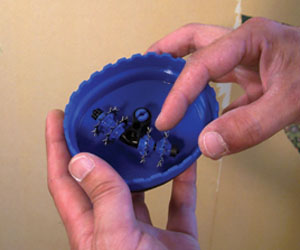
Before employing either method, use a perforation tool to abrade the paper, cutting tiny holes in the surface that will drink up the liquid. The perforation tool is sold at most hardware or paint supply stores, and it’s little more than a palm-sized handle that houses wheeled spurs, which rotate as you move the tool over the wall. Apply just enough pressure to perforate the paper without damaging the drywall. Alternatively, score the paper with the edge of a wall scraper in a crisscross pattern with 6-inch spacing. Score all areas where wallpaper is still adhered.
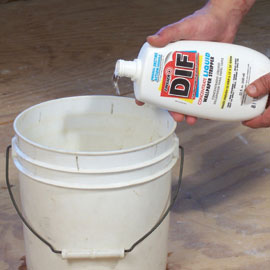
Mix the chemical stripper
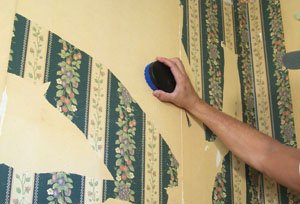
Apply the stripper with a sprayer or roller.

Chemical Stripper
Using a chemical wallpaper stripper is one of the easiest and cheapest methods to do the job. Mix the liquid wallpaper remover with hot water, according to the manufacturer’s instructions. Use a paint roller or spray bottle to apply the remover to the perforated paper. Wait about ten minutes for the remover to weaken the adhesive, and then peel off as much as you can with your hands. For stubborn swaths of paper, lightly use a 3-inch scraper at a shallow angle to scrape the paper without nicking the wall.

Steam Stripping
If you frequently remodel or redecorate, consider investing in a steam-powered wallpaper stripper. These tools eliminate the need to use chemicals and can be reused over and over. The simplest steamers require only that the user fill the tank with water and plug the cord in an outlet to start the heating element. Once the water heats up, the steam that is generated escapes through a hose. At the end of the hose a steam plate to collect the steam over a targeted area.
Simply hold the steam plate flat against the wallpaper for approximately 10 seconds. The steam will heat and dampen the paper, which loosens the glue. Then move the plate to the spot immediately next to the one just steamed, from which the paper should easily come away with a little encouragement from a wall scraper. Working in this pattern should allow you to continuously remove paper.
Don’t forget that steam is hot. The steamer I used for this article produces steam at 212 degrees, so be very careful when using.
Final Prep
After removing all the wallpaper, wash the wall several times to remove the glue residue. Use fresh water and a sponge. Otherwise, the residue will impair the bonding of the paint and cause it to peel. Once the wall is completely dry, finish the wall with primer and paint.
