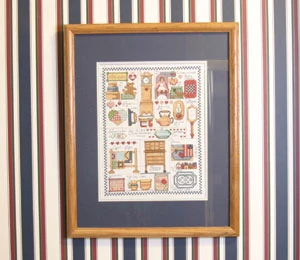
Nothing sets the décor of a room like wallpaper, or the more correct term, wallcovering. Wallcovering is available in a myriad of colors, patterns, and textures. You can spend hours looking at just a small portion of the sample books in a Lowe’s or other big box store, not to mention the specialty wallpaper stores or online. Many of these sample books offer mix-and-match coordinated papers, colors and patterns. This also includes thousands of border samples to set off your wallpaper.
It’s important to carefully choose a pattern and/or color to suit your furniture style as well as the size and shape of the room. Small, subdued patterns are best for smaller rooms or a quiet retreat. Bold patterns work in larger rooms, and rooms without a lot of cut-up surfaces, ins and outs of the walls, as well as lots of doors and windows. Wallpaper can also be used as wainscoting, or a wallpaper border can accent the ceiling or wainscoting for painted walls. The type of wallpaper chosen also depends on the surface of the walls. Smooth walls will take almost any wallpaper material; rougher walls are best with textured papers.
Calculation
Once you get past the monumental task of picking out the paper and border, the actual chore of hanging wallpaper is a fairly simple do-it-yourself chore, especially with today’s new coverings, adhesives and tools. Most papers these days are “self-adhesive,” requiring only water to adhere them to the walls.
The first task is to determine how much wallpaper you will need. Wallpaper may be sold as double or triple rolls; the label should indicate the number of square feet. Wallpaper patterns must be “matched” on the seams and some patterns require more adjustment for matching, resulting in more waste. The label should also state the “match” or pattern repeat.
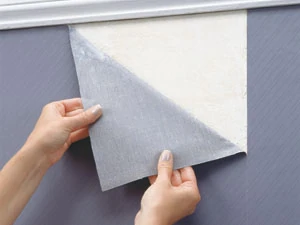
To get a rough estimate, measure the length and width of the room and double the figure. Measure the ceiling height and multiply this measurement by the total length of the walls. This will give you the total square footage of the walls. Divide this number by the square footage on the rolls of wallpaper you choose, and this will give you the number of rolls needed. It’s a good idea, however to purchase an extra roll for insurance. If the roll is not opened and is not special ordered, you can usually take it back. It’s also a good idea to take your measurement figures to the salesperson where you purchase the paper. They can usually help in determining the amount of wallpaper needed. They can also help in determining the amount and types of wall preparation, adhesive products and tools needed. Make sure all the rolls of wallpaper are from the same batch or lot.
Preparation
The next step is wall preparation. Wallpaper doesn’t require as much wall prep as painting, but the more you do to prepare the wall, the easier the papering chore and the better the results. Wallpaper adheres best on a clean, smooth surface. Using a soft rag, wash the walls with ammonia and water mixture and allow the walls to dry thoroughly. Repair any cracks and remove loose paint and any high points or old paint drips to prevent bumps under your new wallpaper. Fill all nail holes or indentions with spackle. Sand all cracks and spackle these areas smooth. The amount of wall prep required also depends on the type of wall. A new gypsum board or Sheetrock wall requires sizing or a primer. A flat, painted wall usually doesn’t require more than cleaning and patching. A glossy, painted wall will also require sizing or priming. Zinsser Shieldz Universal Pre-Wallcovering Primer not only creates a good surface for hanging any type of wallpaper, it helps the wallpaper go on easier, and it also makes it easier to remove when it’s time to redecorate.
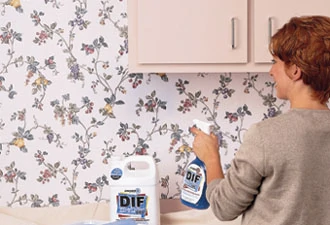
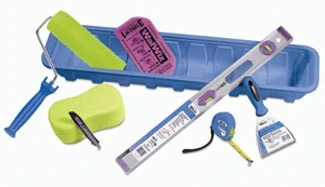
If the walls have old wallpaper, it should be removed before applying the new. Removing wallpaper is not complicated, but it can be a messy and tiresome job on old walls with more than one layer of paper. Zinsser has a number of products making this formidable chore much easier, including their Paper Tiger scoring tool, DIF wallpaper remover, WalWorks stripper roller and Paper Scraper wallpaper remover/scraper. The first step in removing is to lay down some plastic sheeting on the floor, then test the wallpaper to determine the removal process.
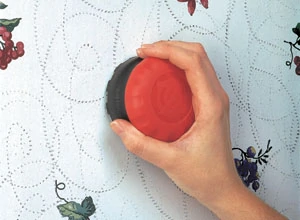
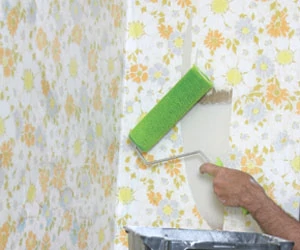
If the wallpaper only tears in small pieces, perforate it with the Paper Tiger scoring tool. Don’t do this too hard, or you can create perforations in the wallboard. Use just enough pressure to perforate the paper. Zinsser DIF is available as a liquid concentrate or a ready to use gel stripper. A 22-ounce bottle of concentrate with patented enzymes and wetting agents makes enough to remove wallcovering in a large 12-by-24-foot room. Ready-to-use, non-drip DIF Gel clings to the wall, eliminating the mess and works great on hard-to-remove wallcoverings. Saturate the paper with the gel. The more stripper you get on the paper, the easier the paper is to lift off. Allow the stripper to work 15 to 20 minutes before scraping off the old wallpaper. The stripping gel is best applied with the WalWorks stripper roller. It holds more stripper than a paint roller, and the straight end allows it to be used next to ceilings and corners for better coverage. If the vinyl front of the wallpaper pulls off, leaving a paper backing, merely reapply the stripper.
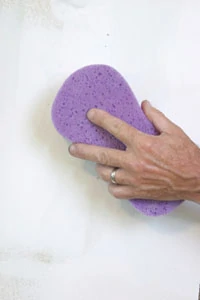
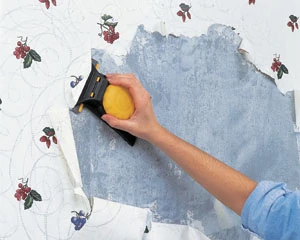
You’re now ready to scrape off the loosened wallpaper. Paint scrapers, putty knives and razor-edged scrapers are often used for this task but they can dig-in and gouge the wall surface. The Zinsser Paper Scraper holds the scraping blade at the perfect angle for scraping without damaging the wall. And, the large handle makes it easy to use. Once all paper has been removed, wash the walls with clean water and a sponge. Then patch any cracks, gouges or holes with spackle. Clean up the mess and you’re ready for the fun.
Application
Gather the tools and materials needed. Wallpaper and borders come prepasted, and these must be wetted in a water or Prep tray. Zinsser Prepz one-step border/wallpaper prep and adhesive makes it easier to position paper during the hanging process, improves adhesive performance and eliminates the messy water tray. You’ll need a large table to work with the paper. A folding, plastic-topped utility table is great for this chore. Other tools needed include: plumb bob and line, level, paste brush, scissors, utility knife, a tray and a smoothing brush or device such as the WalWiz 3-in-1 Wallpapering Tool.
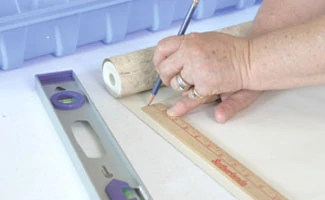
The next step is to plan your papering. In most instances the walls may not be an exact measurement of multiples of the paper width. The best method is to start at one corner of the room, and if a door is involved, it’s even better to start next to or over the top of the door. If you start in the center of the wall, when you get around the room, you may have to cut the paper roll to a different width, cutting into the pattern. The beginning and ending usually won’t match, so it’s best to start in the least noticeable corner of the room.
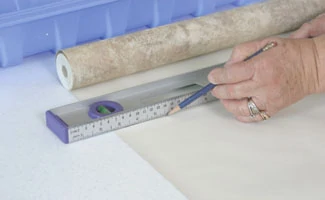
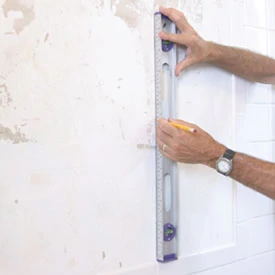
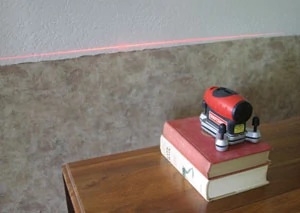
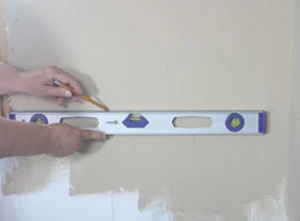
Carefully measure the wall and cut the wallpaper to length, allowing a 2- to 3-inch overlap at the ceiling or ceiling molding and floor molding or baseboard. To begin, cut the first and second pieces, matching the pattern and allowing any extra length needed for the second piece. Mark each piece with a T for the top edge unless the paper has an easily recognized up and down pattern. Measure about 1 inch to one side of the least noticeable corner (say behind the door) and mark a plumb line using a level or plumb bob and chalkline.
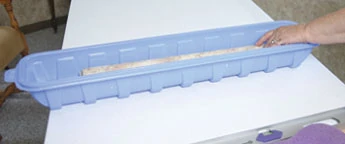
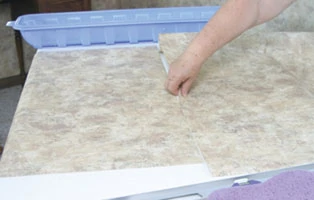
Even if you are hanging pre-pasted wallpaper, use Prepz One Step Wallpaper Prep & Adhesive. Prepz eliminates water trays, special adhesives, activators and the need for sizing in one easy step. Brush or roll it on the back of half the length of the cut wallpaper piece, and then fold the wallpaper back to itself (paste to paste), which is called “booking.” Continue to apply Prepz to the balance of the strip. Now you’re ready to hang.
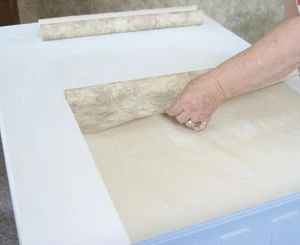
Holding the wallpaper up against the wall, align the paper edge with the plumb line and apply to the wall, overlapping the ceiling molding 2 to 3 inches. Let the bottom end hang loose to make sure you position the paper strip accurately. Once you have the paper positioned properly, starting at the top, lightly smooth out the paper.
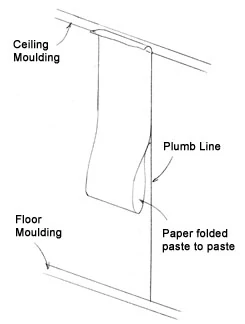
When you reach the folded portion, unfold a little at a time and continue smoothing, making sure the edge meets the plumb line. Cut the third strip of wallpaper to the correct length, matching the pattern to the second strip with enough to meet and extend top and bottom before hanging the second strip. Smooth the second strip, making sure the seam meets properly and is smoothed out.
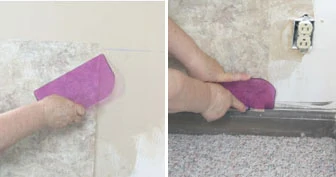
Trim the top and bottom using the trimming knife and 3-in-1 tool, using the WalWiz as a sliding guide. Hold it firmly at an angle and position it between the wallpapered surface and the cutting blade. Then slide the trimming knife cutting blade along with the guide as you cut. Again wipe away excess paste with a sponge and clean water. Match and cut the fourth strip before hanging the third and so forth. Before you know it, you will have easily hung your new wallpaper by yourself. Note; if the wallpaper has no match, all pieces could be measured and cut at one time. Be sure to mark the top of each strip, even on wallpaper with a vertical stripe.
Head for the Border
Wallpaper border can be used over wallpaper or paint. Be sure to use the border paste recommended by the manufacturer and follow the manufacturer’s instructions, or use Prepz. Rolls of border are usually 15 feet in length and from 4 to 12 inches in width. Again, make sure all rolls are from the same lot. As with wallpaper, start the border in the least noticeable corner of the room as the end will seldom match the beginning. As with wallpaper, book the border by folding paste against paste. Unlike wallpaper, it will take two people and two ladders or step stools to hang border. Zinsser says a border can be put up by one person by attaching the border with one hand and holding the remainder of the booked border in the other. But it has always taken two people and two ladders for us.
Start with two ladders about 2 feet apart with one person starting the border in the corner and the other person holding the rest of the booked border. When the person on the first ladder has attached as much border as they can reach, their ladder is moved to the other side and they take the booked border while the second person adheres the border area they can reach. Continue leap-frogging the ladders until you complete the border. At the end of each 15-foot strip, go back and wipe clean while using the WalWiz to make sure that section of border is firmly in place. Note: Border is printed in a repeating pattern and therefore each roll of border doesn’t start and end in the same place. In other words, there can also be some waste with borders. Always get extra, and like wallpaper, any unopened packages can usually be returned.
Finally, sit back with a cool drink and enjoy your handiwork, you deserve it because wallpapering can be a lot of work.
