

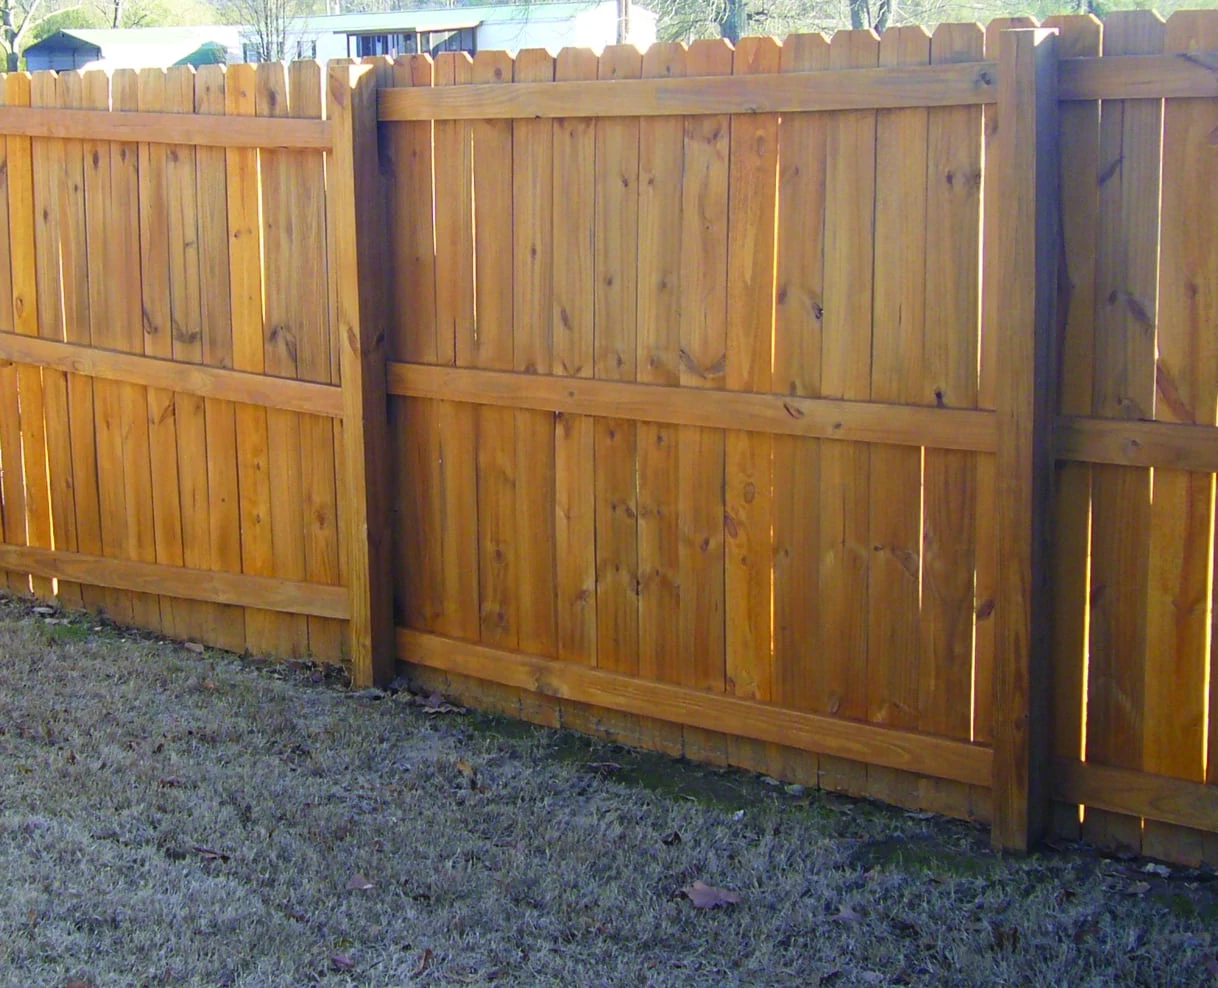
A thorough cleaning along with an application of a penetrating wood stain will do wonders for the looks and long life of your wood fence.
By Tom Matthews
Wood remains America’s most popular building material for outdoor structures because of its natural good looks, ready availability, durability and affordability. It’s versatile, easy to work with, and homeowners know what to expect from its performance. However, to take full advantage of those many qualities requires proper protection and maintenance. Whether it’s pressure-treated SPF, cedar, cypress, redwood or even a high-end exotic hardwood, the right care will protect exterior wood from the elements and keep it in good shape for years.
Tips for New Wood
Allow new pressure-treated wood to dry before staining or sealing. The pressure treatment of lumber with waterborne preservatives leaves moisture in the wood. This is why fresh PT lumber often arrives wet from the supplier or is still damp at the lumber yard, and the moisture can impede the penetration of stains and paints. For best performance of paint and stain coatings, allow the treated wood to dry prior to application. Typically, treated wood will dry in 2 to 4 weeks after installation. Estimating exactly how long treated wood will take to dry is difficult, and a lot depends on how much time has elapsed since the treatment, the lumber’s exposure to the sun, ambient weather, etc. Consider these factors, and always follow the instructions provided by the stain manufacturer.
Wood with natural preservatives, such as Western Red Cedar, cypress and redwood, do not require as much drying time because the wood was never pressure-treated with a preservative.
Contrary to popular belief, new wood still needs to be cleaned to remove any “mill scale”, which is a compression of the grain during the milling process that can cause the stain to float or run off without absorption. Cleaning the surface with an oxygenated bleach (sodium percarbonate) removes the mill scale as well as any contaminants, such as dirt or mildew, that the lumber picked up during construction.

A recent fence-staining project in Extreme How-To’s neck of the woods relied on a wood cleaner to prepare the boards for a staining.
Tips for Weathered Wood
When wood is exposed to the sunlight the ultraviolet rays can damage the wood fibers over time, causing the surface to turn gray. The most direct way to renew the appearance is to sand or pressure-wash the surface. However, sanding can be very difficult and time-consuming for large areas, and pressure-washing must be approached with caution. The problem with pressure-washing is that too much pressure can damage the wood surface, removing the gray but causing the surface to fuzz or splinter. This can not only affect the wood’s appearance, but can pose a “touch” hazard for areas such as deck surfaces where people may walk barefoot. When using a power-washer, limit your pressure to no more than 1,000 or 1,200 PSI and carefully work in the direction of the grain—never against it.

Tips for Wood with Old Stain
In general it’s best to remove old stain before applying new stain, especially if changing products or colors. Old stain will usually show through the new stain, leaving blotchy spots in the finish. Film-forming stains, which create a smooth, glossy texture on the wood surface, must be completely removed before applying a penetrating stain. The more common penetrating variety is formulated to seep into the grain and leaves the wood’s natural texture exposed. However, if you plan to stick with the same color and type of stain, and your deck is in decent condition, then you can probably get by with a thorough cleaning and a fresh maintenance coat. As always, refer to the manufacturer’s recommendations for best practices.

The cleaning agent was applied with a sprayer to remove mold and mildew and open the wood-grain to better absorb the stain.
If there is a buildup of old stains on the deck, then you may need to remove it with something stronger than an oxygen bleach cleaner. Stain strippers are more caustic, but they remove most weathered stains in a single application. Small, stubborn spots of stain can then be removed with a hand sander once the deck has dried.


Careful pressure-washing rinsed away the cleaning agent and renewed the look of the wood.
Tips for Prepping
An often overlooked step for deck-staining projects is the application of a wood brightener. Brighteners are chemical agents that open the woodgrain to improve penetration of the stain and help restore the appearance of weathered wood to a like-new condition. Wood brighteners are also easy to use. The product can simply be sprayed onto the wood surface, given a few minutes to work its “magic” and then rinsed off, requiring very little labor.

Keep the nozzle of the sprayer roughly 12″ from the surface being stained.

Always thoroughly mix the stain to evenly blend the solids and ensure a consistent color tone throughout the project.

This project utilized a wood brightner, which was sprayed on with a heavy-duty 1-HP airless sprayer.
After using any chemical treatment to clean and prepare the deck, use plenty of water to completely remove all traces of the products—and then allow the wood to dry prior to stain or sealer application.

A two-man spraying-and-brushing crew can speed up completion.

Apply additional coats to darken the stain on new boards in order to help them blend into the freshly stained fence.
Tips for Application
For both horizontal and vertical structures, brushing is the best method for stain/sealer application because the bristles push the product evenly into the woodgrain to increase absorption. Using a sprayer or roller can apply the stain more quickly, but both of these methods leave much of the stain on the surface without adequate penetration into the pores. This superficial product can wear away unevenly. So, if applying the stain with a sprayer, roller or staining pad, most pros still recommend back-brushing it into the woodgrain for the most consistent appearance and best protection.

The Jim Grant Company of San Diego, California, recently rescued a DIY deck project gone awry. The homeowner failed to properly clean the surface prior to applying a coating, and halfway through the application he realized it was a solid stain not the transparent finish he wanted. Before the situation became worse, the pros were consulted.

Shown here is the completed deck after proper cleaning, preparation and a new coat of Superdeck.
