

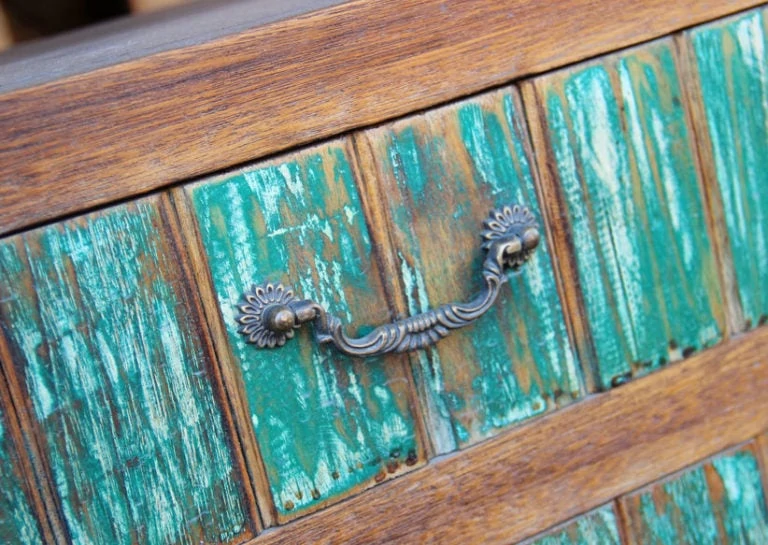
“Antiquing” is a special cabinet or furniture finishing technique that can enhance the look of a bland surface by artificially aging the wood. The results are brand-new interiors that feature a worn, weathered appearance and a distinct rustic character. This popular faux-finishing technique achieves the look of old-fashioned woodwork while allowing homeowners to choose new cabinet and furniture designs that can be custom built to fit their living space. It gives people the beautiful look of antiques while allowing them the design flexibility that comes with new construction.
Professionals use a wide range of methods to stress wood surfaces, creating the look or texture of world-weary wood. Some painters use a handful of nails, pounding the points into the wood to imprint tiny pinholes on the surface. Sometimes heavy chains are placed on wood surfaces and lightly hammered onto the top to get random indentions for a slightly rough, damaged appearance. And coarse sandpaper is popular for scuffing up an otherwise smooth cabinet face.
Another popular trend for cabinets in the kitchen is to fashion the case in varying woodwork styles to simulate a collection of separate, different furniture items. New cabinets can appear to be a collection of several old-fashioned furniture pieces, when in fact they are constructed as a single case with different finishes to separate the various styles of carpentry.
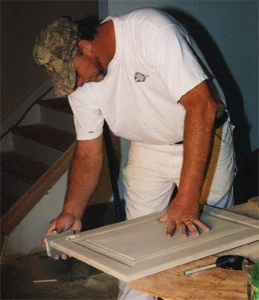
To learn how to make new cabinets look old, Extreme How-To turned to professional painter, Curtis Burks of Birmingham, Alabama, to get some tips on his process for giving cabinets a faux antique finish by means of some special painting techniques.
“I’ve got a pretty good job, I get paid to mess up cabinets,” jokes Burks. “But basically anybody can do it. They’ve just got to be careful and know the right steps.” Using the right materials and paying close attention to detail are what matter most with Burks’ method, which relies on oil-based primer, special “aging” techniques and a final coat of polyurethane.

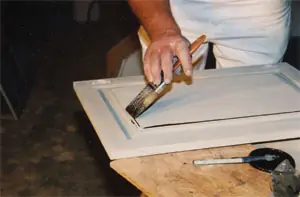
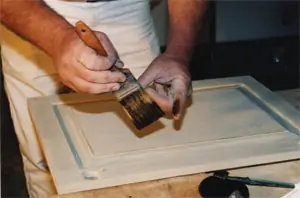
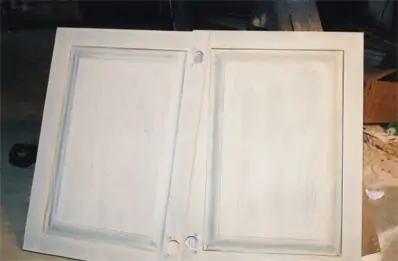
Step 1. Make sure the wood surface is free of any dust or debris. Brush on the first coat of oil-based primer. Let the first coat dry completely before moving on. Then apply a second coat of primer of a different color, which you “dry brush” onto the wood surface to give it a streaked-up appearance. This means you lightly dampen the brush and then wipe it off before using, so rather than applying a swath of paint, the bristles leave a lighter, fainter mark on the wood.
Step 2. Next, use sandpaper over the brushed areas to pull out and expose the wood grain.
Step 3. Accentuate the corners and the edges of the panels by touching them up with a little wood stain.
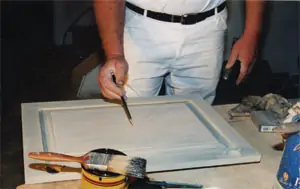
Step 4. Another simple but handy tool is a standard No. 2 pencil. Make sporadic marks in random areas over the face of the cabinets to simulate cracks and scratches.
Step 5. Another technique is to “fly speck” the surface of the cabinets with would stain. The tiny specks of stain give the illusion of surface damage and enhance the rustic appeal. To do this, simply dip the bristles of a paint brush or toothbrush into the stain, and flick the bristles over your finger to lightly spray the fine droplets of stain over the work surface. The small bristles of a toothbrush make the “fly specks” easy to aim for detailed applications, such as on the edges of the cabinet doors.
Step 6. Finish off with a finish coat of polyurethane. Allow the first coat of polyurethane to completely dry, then apply two more coats.
Editor’s Note: Special thanks to Curtis Burks Painting for help with this article.
