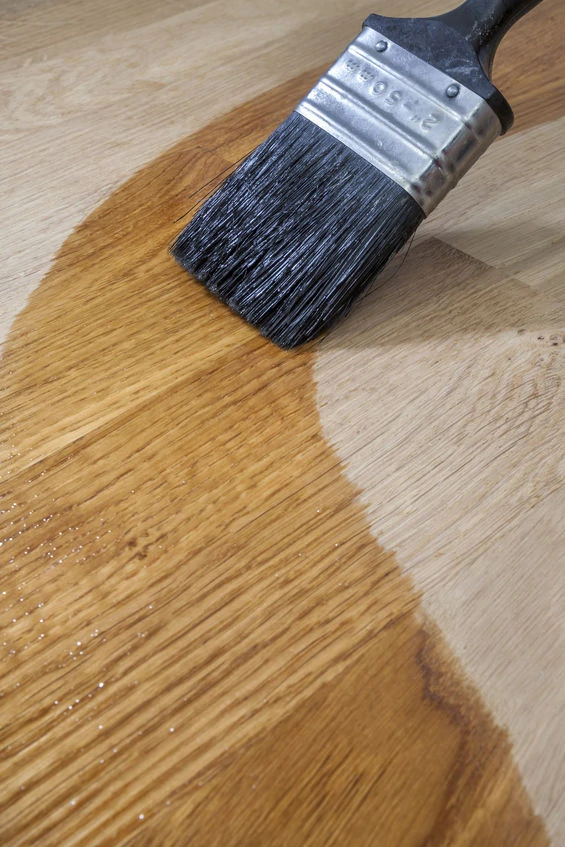
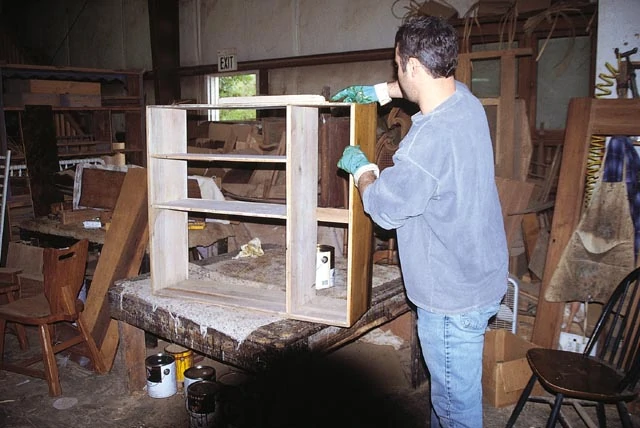
Unless your taste leans entirely toward modern chrome, a lot of your furniture is wood. If you’re like most of us, it’s a mix of family heirlooms and hand-me-downs, resale shop finds and retail store fill-ins. Some of these may be affordable unfinished pieces you picked up to fill a need; others may be fine reproductions that have seen better days. You can pull together the look of a whole room by finishing, refinishing, restoring or reconditioning these pieces, and it’s a lot cheaper than buying new.
Stripping furniture is no picnic, but the rest of the job can be a lot easier than you think. Also, if you’re working with furniture pieces that don’t need stripping, you can give them a great, new look in just about an hour. That’s about as close to instant gratification as you can get in the do-it-yourself arena.
“You want a product that works on both new and old furniture, one that’s easy to apply and fast-drying,” says Mick Stocker, technical expert for J.W. Bollom & Co., the English company that manufactures the Briwax line of furniture products.
“People are extremely busy today, so do-it-yourselfers want to be able to apply a product in about 20 minutes, let it dry for 5 minutes, buff it and achieve a beautiful luster,” Stocker says. “In England, we prefer the subtle sheen achieved with one application and buffing, but if you like a glossier shine, a couple of extra applications with buffing between will do the job.”
Whether your furniture is new wood or old, ordinary or fine antique, it can look better with the right care, even if it’s been neglected in the past. Furniture made of solid wood or veneered in fine hardwood are good candidates for restoration. A high-quality restoring product combines soft beeswax to bring back the luster, carnauba wax for a durable shine, and solvents to slightly soften the existing finish and blend it with the new. The friction of buffing warms the polish and helps push it into the grain of the wood, restoring the original patina. You can also use a restoring product to tone up or tone down new wood, fill in small surface scratches and chips on older surfaces or antiques, or achieve special effects in woodcraft projects. Be sure to choose a product that’s available with a clear coat as well as an array of light, medium and dark wood tones, so you can choose one close to the original finish or create special effects with contrasting shades.
Stocker recommends the following simple procedures to give that roomful of lackluster pieces new life.
• To give a rich look to unfinished furniture: Sand the piece with 150-grit sandpaper and apply a small amount of finish product with a lint-free cloth, rubbing in the direction of the wood grain. Let it dry 3 to 5 minutes and buff with a clean, lint-free cloth (nylon pantyhose work well). Any spots or scuffs, reapply a bit of fresh product, let dry and buff again. Avoid household cleaners and commercial spray polishes to maintain the look. Dusting with a clean, dry cloth is usually enough, but if not, reapply a bit of restoring wax with #0000 oil-free steel wool.
• To restore the look of finished furniture: Test restoring wax someplace inconspicuous, such as the inside of a table leg, to be sure the color, finish and luster level are compatible with the original. Apply a very small amount and work in one small area at a time. Let dry, buff with a clean, lint-free cloth.
• To make white rings from wet glassware disappear: Use #0000 oil-free steel wool to apply the restoring product very lightly in the direction of the grain. Apply clear restoring wax to half of the ring. When the ring fades, wipe off the excess product and repeat on the other half until they match. Feather-out the working area to blend with the rest of the finish. Once you have removed the white marks, use colored restoring wax to renew the entire piece.
• To renew dried and cracked finishes: Lightly apply the wax with #0000 oil-free steel wool to remove just the top layer of old, dried finish. Let dry, then buff. This will salvage the original finish — important if the piece is an antique.
• To create a whitewashed look that lets the wood tone and grain show through: Apply liming wax to bare or stained wood, even those with sealed surfaces. Some woods such as beech, maple and rubber will benefit from opening the grain with a wire brush first. Apply liming wax sparingly with a cotton cloth, rub into grain and remove the excess. Overcoat with clear wax polish or, for a more distressed, antiqued look, overcoat with a light brown wax. You can apply liming wax over waterbased stains, old driftwood, wood floors or even coarse pottery.
• To restore wood outdoor furniture: Use teak oil (made for all types of wood) to feed the wood and give a rich, satin finish. This treatment will not protect against UV damage from direct sunlight, but it will protect against moisture. Be sure the wood is dry and free of grease or wax. Lightly sand the wood, apply teak oil liberally with a clean, dry rag or brush. Plan on two or three coats with a drying time of 4 to 8 hours, depending on humidity.
• To seal old, stripped furniture or seal off sappy streaks and “bleeding” knots in new or old wood: Apply shellac sanding sealer made from genuine shellac resins with a brush or rag, let it dry 20 minutes, go over it with fine-grade sandpaper, and apply your final finish. This natural barrier product will adhere even to glossy paint, metal, ceramic or glass.
If you’re feeling a bit more creative and can spend a little more time to create a distinctive project, Stocker recommends these easy projects:
• To “age” inexpensive pine for an antique look: Prep the piece for sanding, then go over it with 180-grit sandpaper. Prepare the aging solution: Mix one part sodium hydroxide (any brand of liquid drain cleaner) and one part water in a spray bottle. Wearing rubber gloves, spray the aging solution onto the piece. (The pine will turn yellow as a reaction between sodium hydroxide, oxygen and tannic acid in the pine.) Let the piece dry overnight; the pine will dry to a gray-green shade. Apply light brown restoring wax, wiping with the grain to eliminate streaks. The result will be a honey/caramel color. Wait a few minutes then buff. Repeat the application with light brown or a deeper brown.
“If you’re crafting a table using reclaimed pine boards for a tabletop and new pine for the legs and apron, you can use this easy technique to age the new parts so the whole piece looks like a rustic antique,” notes Stocker.
• To “antique”a plain plaster pillar: Drag shellac sanding sealer across the pillar’s surface so that some areas are left bare for maximum color variation. Once the sanding sealer has dried, go over the surface with light brown restoring wax, using a stiff brush to stipple the wax into the crevices. Buff to a shine.
• To transform a plain pine armoire into an “antique” treasure: Stain the entire piece, inside and out. Apply shellac sanding sealer with a rag and sand surfaces lightly. Apply a thin coat of green latex paint and let it dry. Then, using medium-grade sandpaper, sand some areas down to bare wood, other areas only down to the stain, leaving most areas green. Apply two coats of brown restoring wax to the outside of the armoire, buffing between coats. Apply an antique pine liquid wax to the inside areas, let dry and buff to a shine. For an interesting, textured touch, cut out the door panels (not the doors’ framing) and use embossed tin ceiling tiles as inserts instead. Cut the tiles to fit and apply a rusting/tarnishing compound to the tin tiles. Once the tin oxidizes, apply a coat of light brown wax polish.


