
When Replacement Windows Aren’t in the Budget
By Matt Weber
Wood rot is caused by a type of fungus that destroys wood. It is as damaging as termite or other insect infestation, and can wreak havoc on wooden windows. If the windows aren’t maintained with paint, caulk and glazing, then wood rot can take hold and completely ruin the casing.
However, in some cases you can catch the rot and make repairs before a complete window replacement is necessary. We’ll take a look at three options for making spot repairs on partially rotted windows. (Note that these fixes are intended for painted windows and not stained wood).
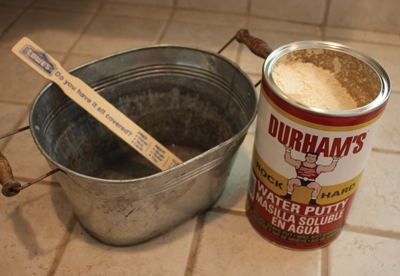
Durham’s Water Putty
Durham’s Water Putty is a powder product that is mixed with water on site and can be used to repair damaged wood if applied properly. The putty is also easy to use and easy to clean up. You also get a lot of product for your money.
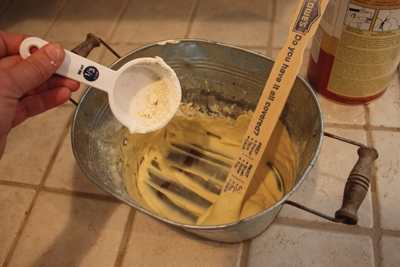
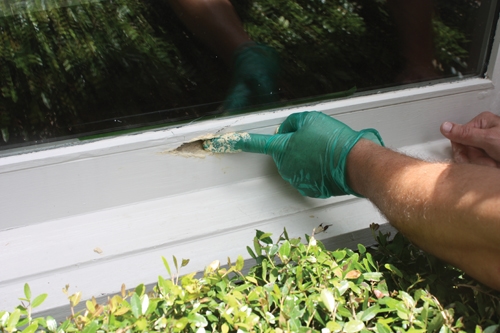
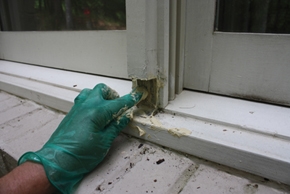
First, remove all damaged material and wood rot with a screwdriver, chisel, shop-vac, etc. In a mixing container, add a little water at a time to the powder and stir with a paint stick until you achieve a consistency similar to thick pancake batter. Apply the product in layers up 1/4-in. thick at a time. Allow each application to dry before adding more product. Once the damaged area has been completely filled and dried, sand the area smooth. It is important to finish the repair by sealing it with a waterproofing product such as exterior primer and paint.

For a belt-and-suspenders approach, apply a thin coat of Gorilla Glue over the repair before painting to help seal out moisture. Visit www.waterputty.com.

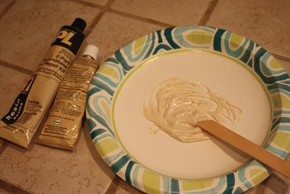
PL FIX 2-part Wood Repair
PL FIX is a two-part poly-urethane-based wood repair filler from Henkel Consumer Adhesives Inc. The resin and hardener are mixed together to create a light tan epoxy. The filler is thin enough to fit into small gaps and cracks, but thick enough that you can mold it. And unlike some other wood fillers, it doesn’t shrink or crack. The down side to the PL FIX is that it’s very sticky, which makes it tricky to work with and difficult to clean up. However, the up side is that the material can be molded into a three-dimensional wood replacement that can be cut or routed into shape. If you need to replace a damaged sill corner or chipped molding profile, you can form the repair from PL FIX and cut the final shape once it’s dry. Visit www.loctiteproducts.com.
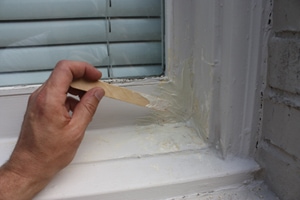
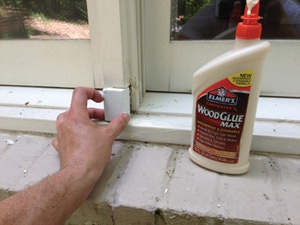
Surgical Replacement
In some cases, the best solution may be to cut out the damaged section of wood, carefully cut a replacement of piece pressure-treated wood to the same shape and dimensions, and glue the piece into the window casing with a high-quality, exterior-grade adhesive that accepts paint. Solid PVC stock is an even more durable material than PT wood, although it can be difficult to find in some areas.
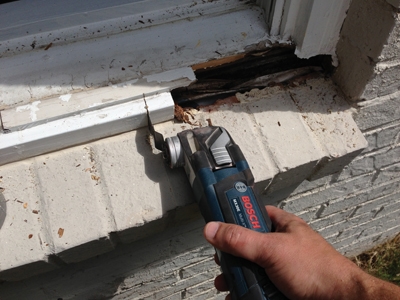
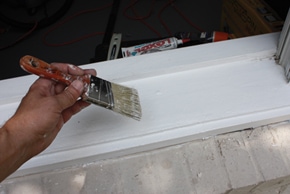
We’ve found that an oscillating multi-tool equipped with a plunge blade is an excellent device for cutting out the problem area. Remove all loose wood, dust and debris. We also recommend coating all sides of the replacement piece—plus the damaged area—with exterior primer before fastening in place, to add an extra measure of moisture protection. After gluing and nailing or screwing in the replacement piece, fill the seams with exterior-grade wood putty and sand the joints smooth. Apply paint-able waterproof sealant, primer and matching paint to complete the repair. Visit www.extremehowto.com.
Other Related Articles