When my brother Chad started complaining about how loud the exhaust was on his 2002 F-350 Super Duty I thought, geez man, are you getting old or what?
“No, really,” he told me, “you can’t even hear yourself think.”
We crawled under the truck and had one of those “what-the-hey” moments, which is like an “aha” moment except it happens under a truck while looking at what some crazy Canucks (this pickup was originally sold in Canada) had done to an exhaust—which should make it what-the-hey, eh?
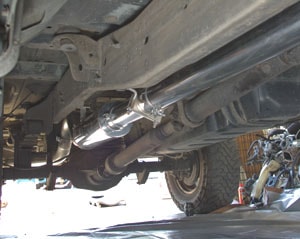
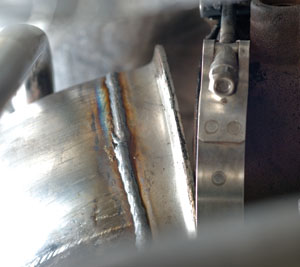
What we found was a modified exhaust where someone simply cut out the muffler and the mandrel bends that carry the exhaust over the rear axle. They got real fancy and welded a curved tip to point the exhaust down at the road.
So, his truck was running a no-muffler straight pipe that didn’t even extend to the rear of the vehicle. This was loud for the neighbors, but worse for the occupants of the cab. Additionally, this exhaust was not tuned for performance of any type.
“Uh oh, time to go Magnaflow,” I said, cause I’m fly like that, bustin’ rhymes under a truck in my bro’s driveway.
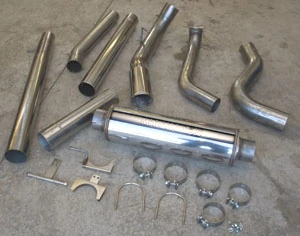
We ordered a 4-inch turbo-back system with a 3-1/2-inch downpipe, which according to the Magnaflow guys produces just the right amount of back pressure. Dyno testing of this exhaust on the 2002 7.3-liter PowerStroke indicates gains of 12 horsepower and 38 foot-pounds of torque. If he can keep his foot off the throttle, Chad should also see slight gains in fuel mileage.
Once installed, the exhaust system sounded great. Magnaflow was able to eliminate almost all of the higher pitched whistles from the turbo spooling up, so what you get is a nice deep resonance. Inside the cab, things are much, much quieter.
Step-By-Step
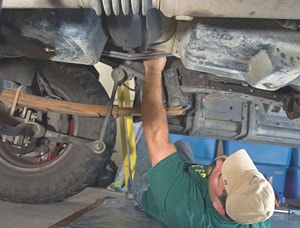
To install the exhaust system we removed the original, laid out the Magnaflow system, installed everything loose from turbo to tip, and checked and tightened the connections. Here’s a closer look at how we got it done:
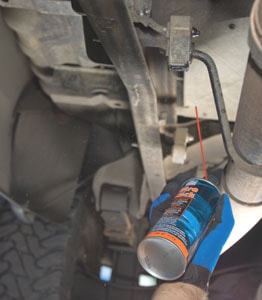
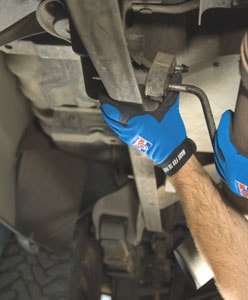
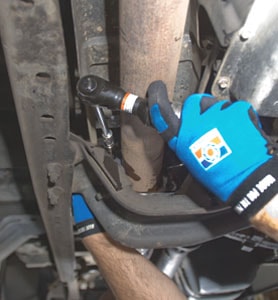
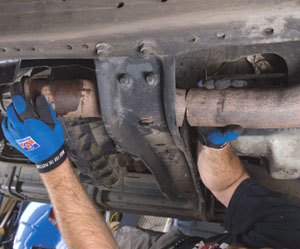
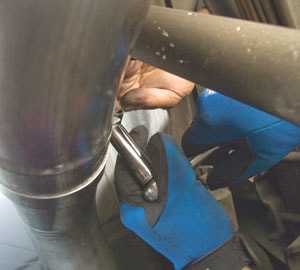
We hit the hangers where they go through the insulators with some Ultra Slick, which made removal much easier. A good grip on the frame rail and insulator with one hand, along with a steady pull on the other, separates the hanger from the insulator.
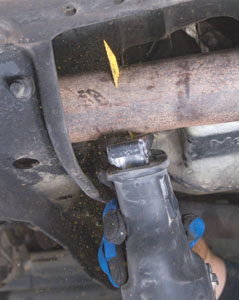
My son, Tim, found a flange-type connection just behind the transmission cross-member. He took the nuts off and was able to disconnect the exhaust at that point.
Next it was time to go up into the engine bay where Tim found himself in a much different position than he’s used to when working on imports.
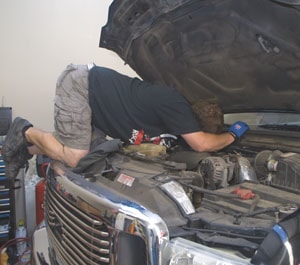
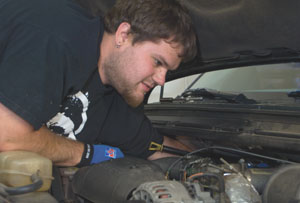
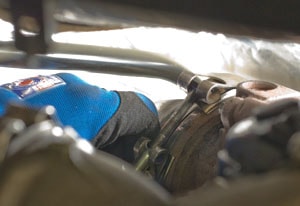
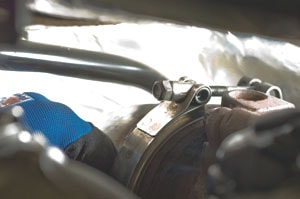
Getting to the V-clamp that holds the downpipe to the turbo requires going by feel as much as by sight. It took some time to find the right combination of socket extensions, but we got the V-clamp loose and the downpipe separated from the turbo.
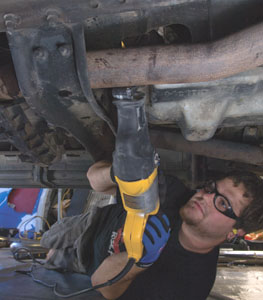
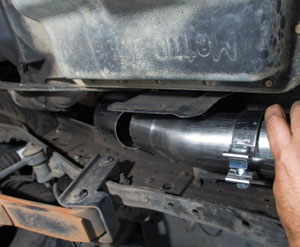
We used a reciprocating saw with a metal cutting blade to cut off the OEM downpipe just in front of the tranny crossmember. Keeping the shoe of the saw against the pipe while cutting helped minimize movement in the pipe.
Tim broke off the last little bit of metal so he could have good grip on both halves of the pipe.
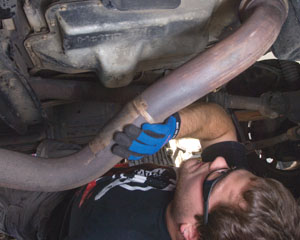
We took care to bring the original downpipe down through the opening between the engine and firewall without damaging any vehicle or human body parts.
Tim applied some Anti-Seize to the threads of the V-clamp before putting it back into position on the turbo.
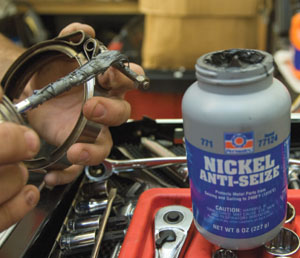
This product by Permatex is rated for up to 2,400 degrees F.
Chad got the upper downpipe of the Magnaflow system ready to install from below, while Tim got into position in the engine bay. Chad then supported the downpipe from below and followed Tim’s instructions from the turbo.
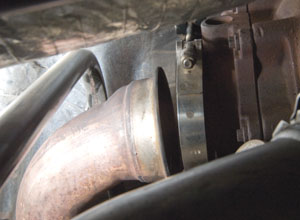
With the V-clamp parked on the turbo, the guys worked together to line up the flange of the downpipe with the turbo opening.
Tim moved the V-clamp into a position where he could see that the downpipe and turbo were properly aligned.
He then rolled the V-clamp up so the nut was facing toward the front of the vehicle, making it accessible to a socket and extension.
With the V-clamp tightened enough to keep the downpipe against the turbo but loose enough to be rotated, the guys moved on to the upper-downpipe-to-lower-downpipe connection.
At each connection, they slid on a clamp so it could be positioned for tightening once the downstream pipe is in place.
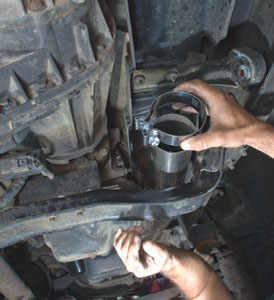
We tried to guess which position was best for the 4-inch mid-pipe hanger and slid it on. Later there was some debate, but it wasn’t hard to take it apart and flip it around to try different orientations.
We found that it was easier to put the insulators on the exhaust system hangers first and then onto the vehicle posts.

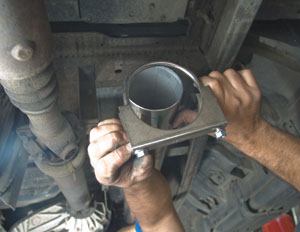
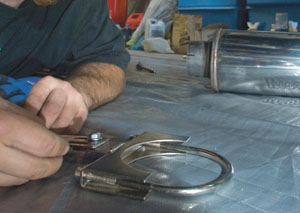
We also preassembled the adjustable T-clamp, which came with the kit, and put it in position before lifting the muffler into place.
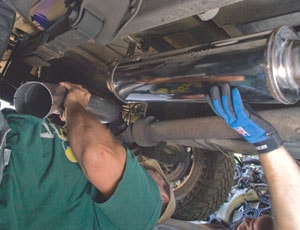
 Chad positioned the muffler while Tim clamped it into place. He then snaked the tailpipe over the rear axle and past the spare tire.
Holding the exhaust-tip section in position helped determine the attitude of the tailpipe.

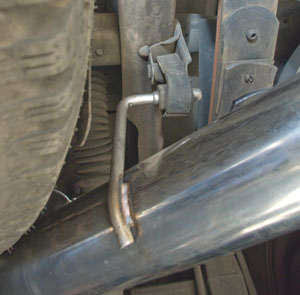
It took some Ultra Slick and a little persuasion to get the tip hanger into the insulator between the spare tire and the leaf springs.
Chad held the exhaust tip in position to clear the rear fender while Tim clamped the tip section to the tail pipe.

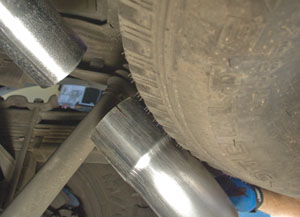
The attitude of the mandrel bends in the tail pipe, as well as a how the tail pipe and tip section are rotated, determine the clearance over the rear dif, around the shock, away from the spare tire and below the fender before it can be clamped.
With all of the components in place, we inspected the entire length of the system to make sure the clearances and pipe overlaps all looked good before tightening. To get some of the connections tight enough, we backed the nut off and got a run at it with an impact driver.